First, Watch What the Door Actually Does

Almost every homeowner who calls us about a door that will not close describes it the same way: it just will not close. But a door that refuses to move at all and a door that starts down and jumps back up are two completely different failures, and the fix for one has nothing to do with the other.
Stand outside the door, press the button, and watch. There are five behaviors and each one points somewhere specific:
- The door does not move at all and the opener does nothing. Power, wall console lock, or a dead logic board. Not a sensor problem.
- The opener light blinks and the door does not move. Almost always the safety sensor circuit. The blink count is a diagnostic code.
- The door starts down, then immediately reverses to full open. The safety sensor beam is broken or the sensors are misaligned.
- The door goes most of the way down, then reverses. Usually a force setting or a physical obstruction near the floor, not the sensors.
- The door closes fully, then pops back open a few inches. The down travel limit is set too far, so the opener thinks it hit an obstruction.
That list already narrows the problem more than an hour of poking at it will. Note which one describes your door before you touch anything.
The One Test That Splits the Problem in Half
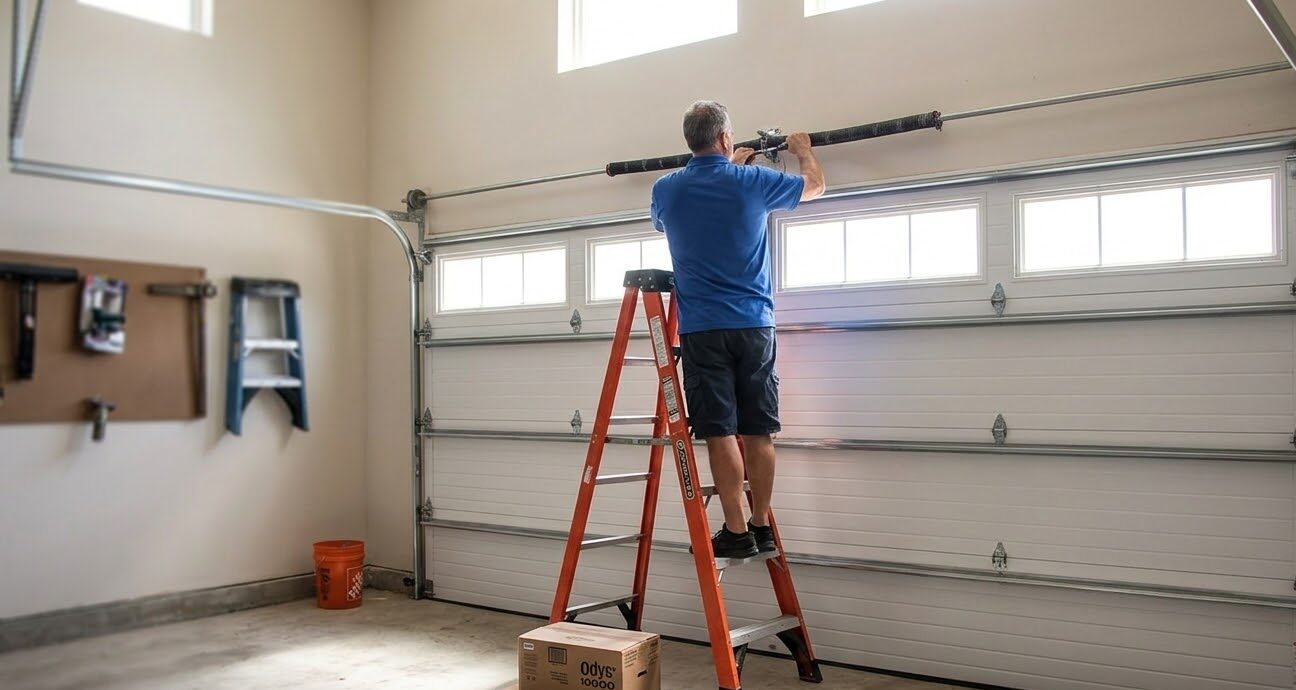
There is a single test that separates the safety circuit from everything else, and it takes about fifteen seconds.
Stand at the wall console inside the garage where you can see the entire doorway. Make sure nothing and nobody is anywhere near the door opening. Press and hold the wall button, and keep holding it, until the door either closes completely or stops.
This works because of how these openers are designed. Under UL 325, when the safety reversing circuit is not reporting a healthy signal, the opener drops into constant pressure to close mode. Holding the button is an intentional manual override that bypasses the photo eyes, which is why it is only safe when you can see the whole doorway with your own eyes and nothing is in it.
The result tells you which half of the problem you have:
- The door closes fully while you hold the button. Your safety sensor circuit is the problem. Mechanically the door is fine. Go to fixes one through three.
- The door still stops or reverses even while you hold the button. This is not the sensors. Something mechanical or a setting is stopping it. Go to fixes four through six.
Never leave a door operating in constant pressure mode as a workaround. That override exists so a technician can diagnose and so you can secure the house once. A door that only closes when somebody holds a button is a door with a disabled safety system, and that safety system is federally mandated equipment on every residential opener manufactured on or after January 1, 1993.
Fix 1: Something Is Breaking the Beam
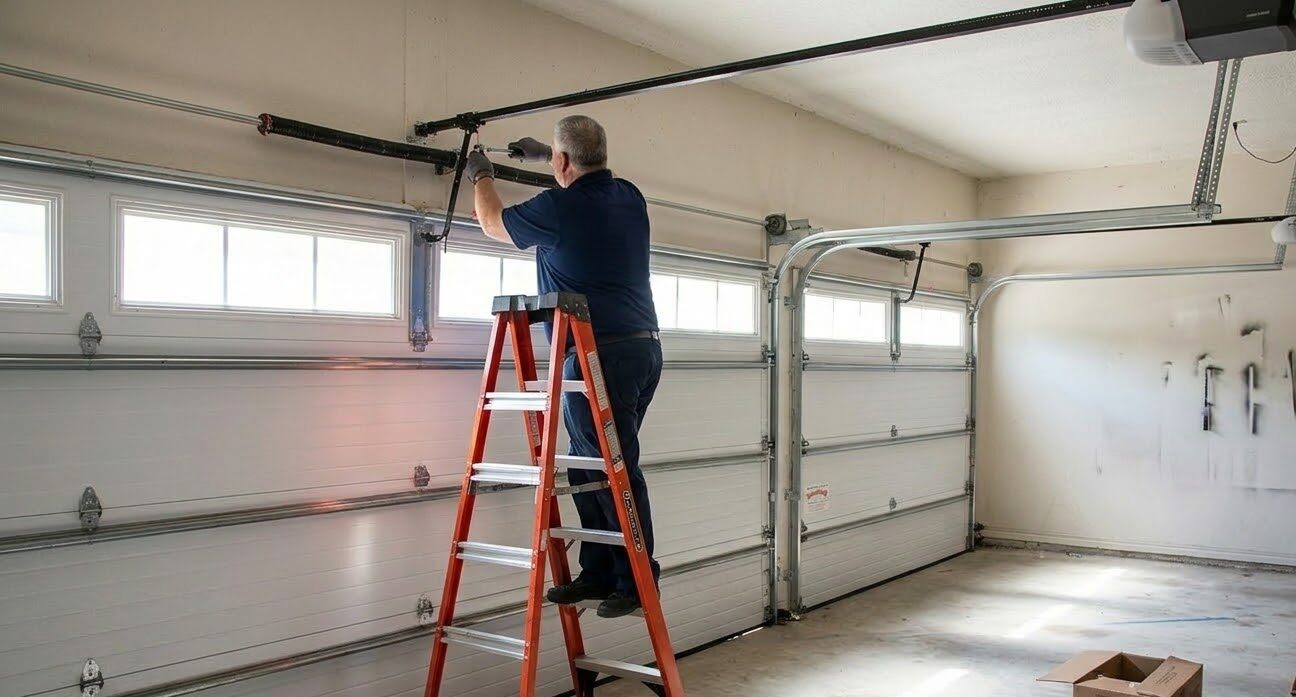
The photo eyes sit about six inches off the floor on both tracks, and they project an invisible beam across the doorway. Anything that interrupts that beam stops the door from closing. In a real garage, that is a long list.
Get on the floor and look across the opening at eye level with the sensors. The usual culprits:
- A trash bin, a bike tire, a bag of mulch, or a broom leaning against the wall. The beam is only six inches up, and things at that height are exactly the things nobody notices.
- A spider web across the lens. This is the single most common cause we find in Central Florida garages, and it is completely invisible unless you look directly at the lens.
- Dust film, pollen, or lovebug residue on the lens. Wipe both lenses with a dry soft cloth. Not glass cleaner, which can leave a film, and not a paper towel, which scratches.
- A car parked at an angle with a mirror or a bumper edge clipping the beam.
Then check alignment. Each sensor has an indicator light. On most units the sending eye shows one steady color and the receiving eye shows another steady color when the pair is aligned and talking. A receiving eye that is dim, flickering, or off is out of alignment. Loosen the wing nut on its bracket, aim it slowly at its partner until the light goes steady and bright, and tighten it without moving it. Our full walkthrough of how garage door safety sensors work and how to test auto reverse covers the light patterns brand by brand.
One detail people miss: sensor brackets get bumped. A wheelbarrow handle, a kid on a scooter, a car door. Alignment does not drift on its own, so if it went out of alignment, something moved it, and it can move again. If you realign the same sensor twice in a year, the bracket needs to be secured properly.
Fix 2: The Wiring, and What Florida Humidity Does to It
If the lenses are clean and the sensors still will not talk, the problem is usually in the two thin wires running from each sensor back to the opener head.
This is where Central Florida garages differ from garages in drier states. Those wire connections, especially the staples and splices near the floor, live in an unconditioned space that swings through high humidity every single day. Copper corrodes at the connection points, resistance climbs, and the sensor circuit becomes intermittent long before it fails outright. That is the classic pattern of a door that works fine in the morning and refuses in the afternoon.
What to check, with the opener unplugged:
- The staples. An over driven staple that pierces the wire insulation creates a short. Look for staples that sit tight against the wire rather than loosely over it.
- The terminal screws on the opener head. Each sensor wire pair lands on a terminal. Confirm the bare copper is under the screw and clamped, not touching its neighbor.
- Splices. Any twist connector or tape splice in the run is a corrosion candidate. Green or white powder on copper means the connection is compromised.
- Rodent damage. Chewed low voltage wire near the wall plate is common in garages with any gap at the bottom seal.
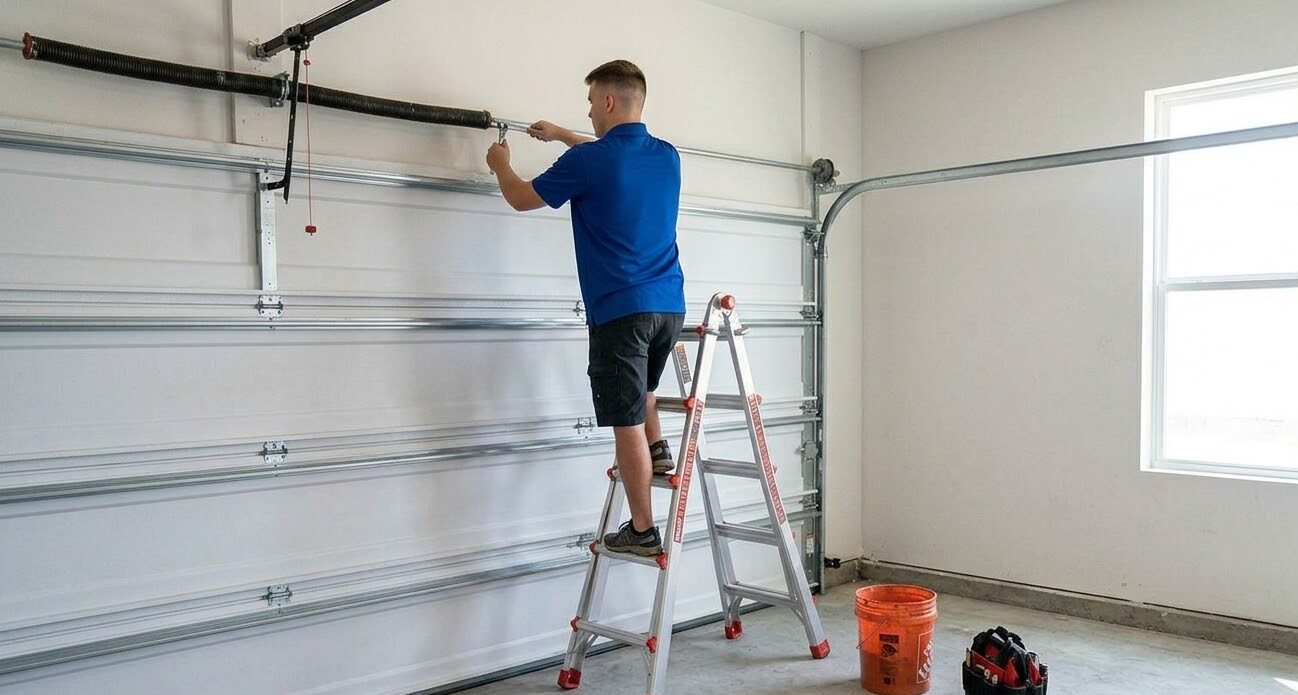
This is the boundary where do it yourself starts to run out. Reading terminals and cleaning a connection is homeowner work. Tracing an intermittent short through a wire run is not a good use of a Saturday, and it is what our garage door sensor repair service exists for.
Fix 3: The Sun Is Blinding the Receiver

This one sounds made up until it happens to you, and in Florida it happens.
The receiving photo eye works by detecting an infrared beam. Direct low angle sunlight striking that receiver lens floods it with infrared and the sensor can no longer distinguish its partner beam. The opener reads that as a blocked beam and refuses to close.
The tell is unmistakable once you know to look for it. The door refuses to close only at a specific time of day, only in certain months, and only when the sun is low and hitting the doorway directly. Everything else works normally. Homeowners spend weeks chasing a phantom electrical problem because the door works perfectly at 10 a.m. and again at 8 p.m.
The fix is simple. Shade the affected sensor. A short piece of pipe or a small cardboard sleeve extending an inch or two past the lens blocks the low sun without interrupting the beam, since the beam runs horizontally across the door and the sun is coming in at an angle. Some installers just swap the sending and receiving eyes to the opposite tracks, which works when the geometry cooperates. If your door faces west, this is worth checking before anything else.
Fix 4: The Down Travel Limit Is Set Too Far
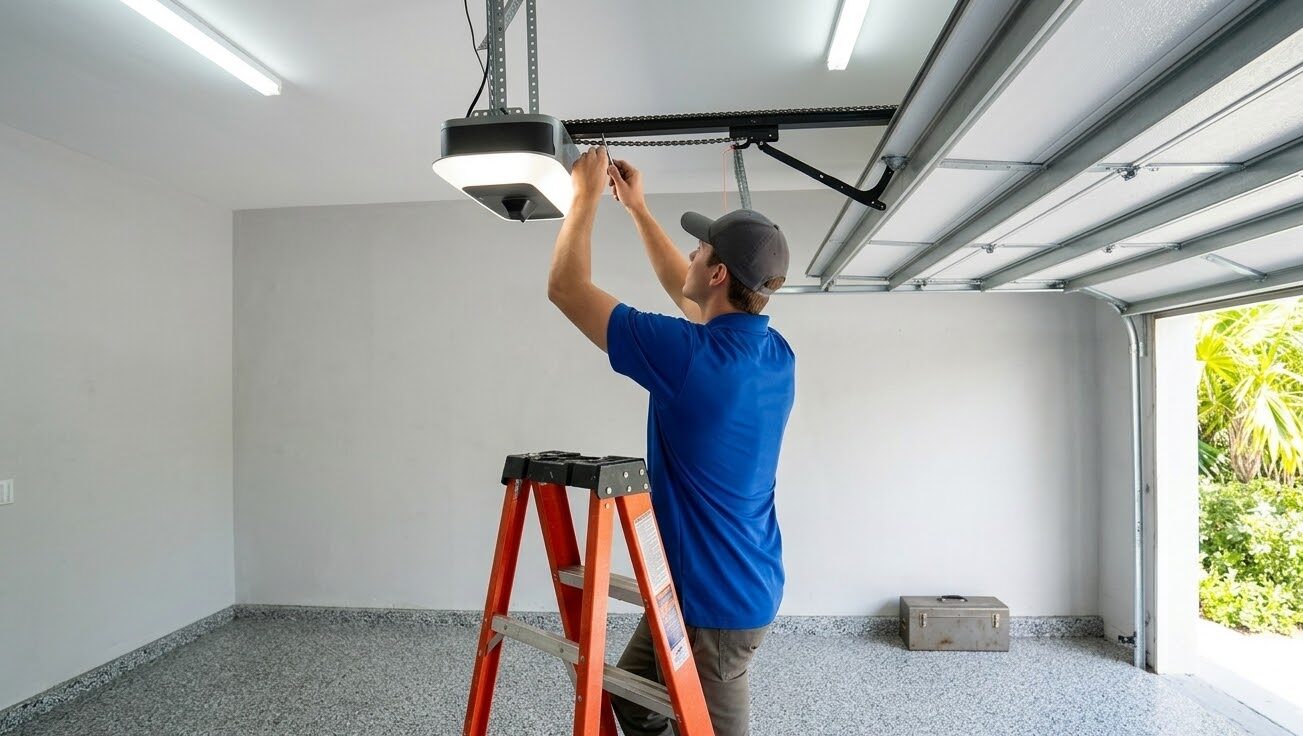
If your door closes completely and then reverses back open, the sensors are almost certainly innocent. This is a travel limit problem.
The opener has a programmed stopping point for the down direction. If that point is set below where the door actually meets the floor, the opener keeps driving after the door has already stopped, reads the resistance as an obstruction, and reverses, which is exactly what it is supposed to do. From the homeowner side it looks like the door is refusing to stay closed.
Nearly every opener has a down limit adjustment, on older units a screw on the side of the motor housing and on newer ones a button or a programming sequence. The adjustment is small. A quarter turn of the screw typically moves the stopping point about two inches, and people ruin the setting by making large adjustments.
A related symptom points the other way. If the door stops with a gap at the floor and will not go further, the down limit is set short. Same adjustment, opposite direction. If your unit uses a programming sequence rather than a screw, or if adjusting it does not hold, the limits and force programming job is a fast service call and it is worth having done correctly, because a badly set limit puts load on the door every cycle.
Fix 5: The Close Force Is Set Too Low
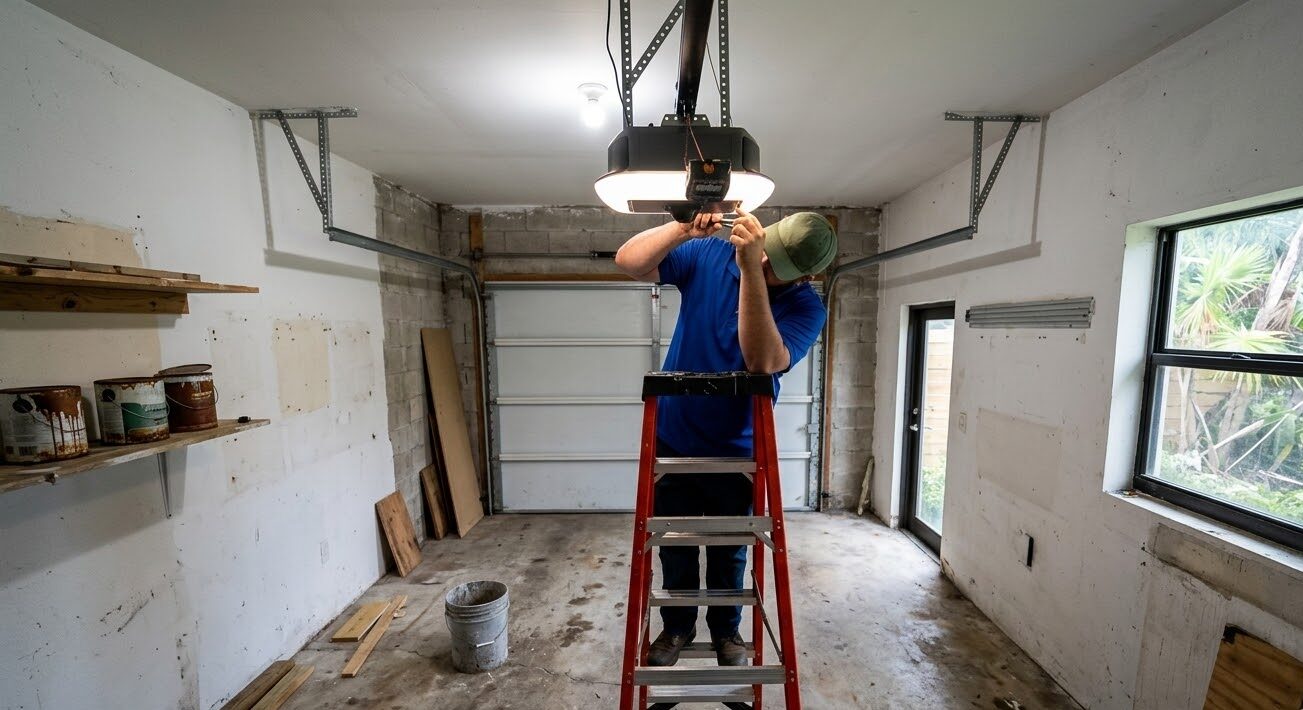
If the door reverses partway down with no obstruction anywhere and nothing on the sensor circuit, look at the down force setting.
Force is the opener's sensitivity to resistance. Set too low, ordinary friction in the tracks reads as an obstruction and the door reverses. This drifts into failure gradually. Rollers get dry, hinges stiffen, the door gets a little harder to move each month, and one day the friction crosses the threshold the opener was set to.
And here is the part that matters more than the adjustment itself. Increasing the force is almost never the correct first response. That setting is the entrapment protection that stops the door when something is under it. If the door needs more force than it did last year, the honest question is why the door got harder to move, not how to make the motor push harder.
The right sequence is to fix the friction first, then set the force to the minimum that operates the door reliably. Pull the emergency release with the door closed and lift the door by hand. A properly balanced door lifts with modest effort and stays put roughly halfway up. If it is heavy, slams down, or shoots up, the springs are out of balance and no opener setting will fix that. Our guide on the signs a garage door spring needs replacement covers what to look for, and spring work is not homeowner territory.
Fix 6: Something Physical Is Stopping the Door
If the door stops at the same place every time, the answer is usually visible if you look at the right thing.
- Track debris. A pebble, a bolt, hardened grease, or a wasp nest inside the track. Run a flashlight along both vertical tracks from top to bottom.
- A flat spotted or seized roller. A roller that no longer turns drags instead of rolling, and it binds at the point where the track curves. Look for a roller that is not spinning while the door moves.
- A bent track section. Usually from a bumper. A track pinched even slightly narrower will stop the door at that height every time.
- A loose or broken hinge, which lets a panel shift and cock the door in the opening.
- The floor itself. Anything that changed at the threshold, including a new floor coating, a raised seal, or debris packed into the seal channel.
Track and roller work is at the edge of do it yourself. Cleaning a track and lubricating a roller is fine. Straightening a bent track or replacing rollers on a door under spring tension is not, and it is why track repair and roller replacement are separate service calls rather than a checklist item.
Fix 7: The Lock Button Is On

We save this one for last because it is the least sophisticated and it accounts for a real share of service calls we could have handled over the phone.
Most modern wall consoles have a lock or vacation button. It disables remotes and keypads, and on many models the console will show a blinking light while it is engaged. Somebody leans a broom against the wall, a kid presses buttons, a cleaner brushes it while wiping, and the door stops responding to the remote.
The test takes three seconds. If the wall button works but the remote does not, the door is not broken. Press and hold the lock button until the indicator light stops blinking. If the remote still does not work but the wall console does, the next suspects are a dead remote battery and then remote programming, both far cheaper than anything else on this page. If neither the console nor the remote does anything, the console itself or its wiring may have failed, which is what wall button replacement addresses.
Read the Blink Code Before You Buy Any Parts
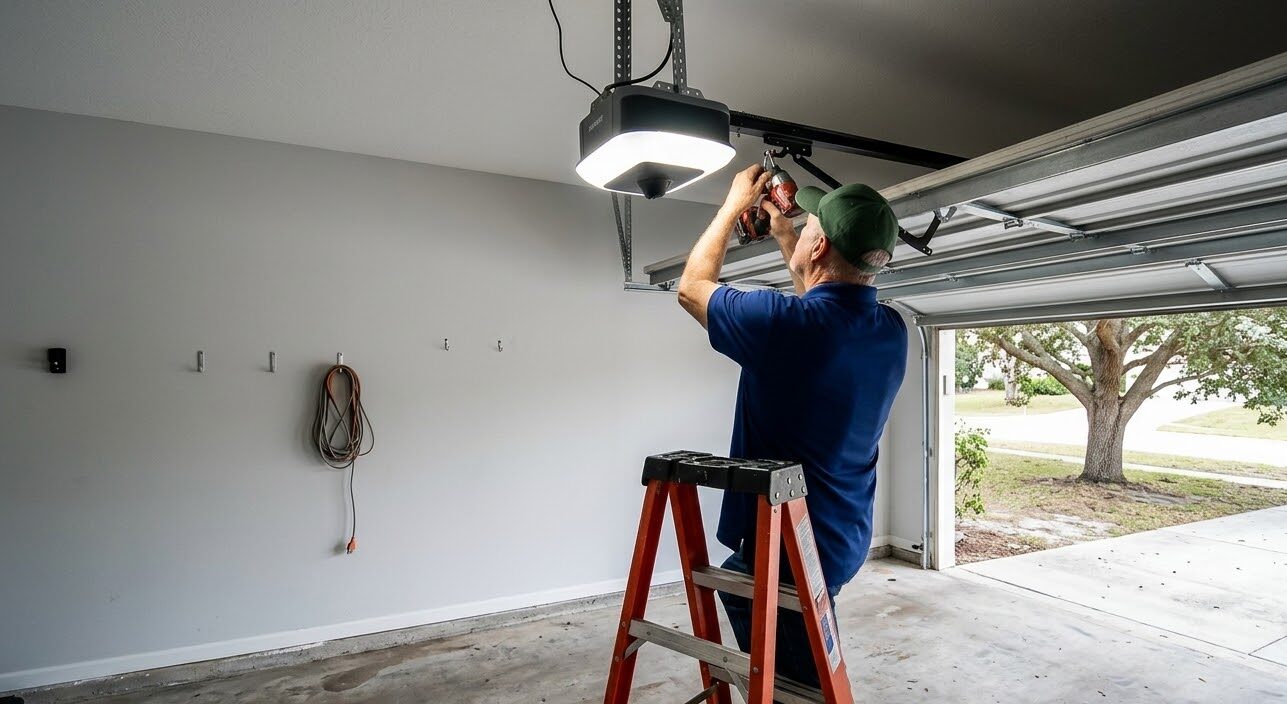
Modern LiftMaster and Chamberlain openers tell you what is wrong. Most homeowners never learn to read it.
When the opener detects a fault, the light on the motor head blinks in a repeating pattern, and the number of blinks in each group is the code. On the widely published LiftMaster and Chamberlain chart, the low numbers cluster around the safety sensor circuit: one blink for a disconnected sensor wire, two for reversed or shorted wires, three for a sensor wiring fault, and four for sensors blocked or misaligned. Five and six move inside the unit, pointing at RPM detection and at the motor or logic board.
Two cautions. Blink code meanings vary between brands and even between models within a brand, so confirm yours against the manual or the manufacturer's support site before you spend money. And notice what the chart implies: codes one through four are all things a homeowner can often resolve in a few minutes with a cloth and a screwdriver, while five and six are the ones that justify a service call. Knowing which side of that line you are on before you start is worth the two minutes it takes to count blinks.
What Is Not a DIY Fix, Ever
Three failures also produce a door that will not close, and none of them belong on a homeowner checklist.
- A broken cable. If one lift cable snaps, the door cocks in the opening and jams. The cable is under enormous tension and the door is no longer supported evenly. Do not operate the opener. This is cable replacement work.
- An off track door. A door that has jumped its track is being held by whatever is left, and pulling on it can bring the whole assembly down. Leave it where it is and call for off track repair.
- A broken torsion spring. Usually the door will not open rather than not close, but a partially failed spring produces erratic behavior in both directions. Torsion springs store enough energy to cause serious injury and the tools to handle them are specialized.
The rule of thumb is straightforward. Anything involving the spring system, the cables, or a door that is not hanging square is a call, not a project. Everything upstream of that, meaning sensors, settings, debris, and the lock button, is fair game if you are comfortable. If you are not sure which category you are in, our garage door emergency guide walks through how to secure the opening safely in the meantime.
Why This Happens More Often in Polk County

Central Florida garages are harder on this equipment than the national troubleshooting articles assume, and it shows up in a specific set of failures.
Humidity is the big one. An unconditioned garage here cycles through high humidity daily, and that is a corrosion engine working on every low voltage terminal, splice, and staple in the sensor circuit. It is why intermittent sensor faults are the most common thing we find, and why a connection that looks fine can still be marginal.
Then there is the biology. Spider webs across a photo eye lens, lovebug residue twice a year, and pollen film in spring all interrupt a beam that only needs a partial obstruction to trip. Add afternoon thunderstorm season, where a nearby strike induces enough voltage on a low voltage run to damage a sensor or a board, and the sun angle problem on west facing doors from late fall through winter.
None of it is exotic. It just means that a door that has worked for six years without complaint can start failing without anything having changed in the way you use it. If your door is at that stage, an annual safety inspection catches the drift in balance, force, and sensor alignment before it becomes a Saturday morning problem.
When to Stop and Call
Work the list in order and most doors resolve in under thirty minutes. Stop and call if any of the following is true: you see a broken or frayed cable, the door is visibly out of square in the opening, the door is very heavy to lift by hand with the opener disconnected, the opener blinks five or six times, or you have adjusted force or limits and the behavior did not change.
That last one matters. Adjusting settings on a door with a mechanical problem is how a small repair becomes a large one, because every cycle after that is loading a system that was already telling you something was wrong.
Rocket Garage Door Services works throughout Polk County, and we handle this exact call constantly. If you have run the list and the door still will not close, or if you would rather not run it at all, call us at (863) 624-3191. We also cover after hours situations through our emergency garage door service in Winter Haven and the surrounding cities, and standard garage door repair during business hours.