

The Question Behind the Question
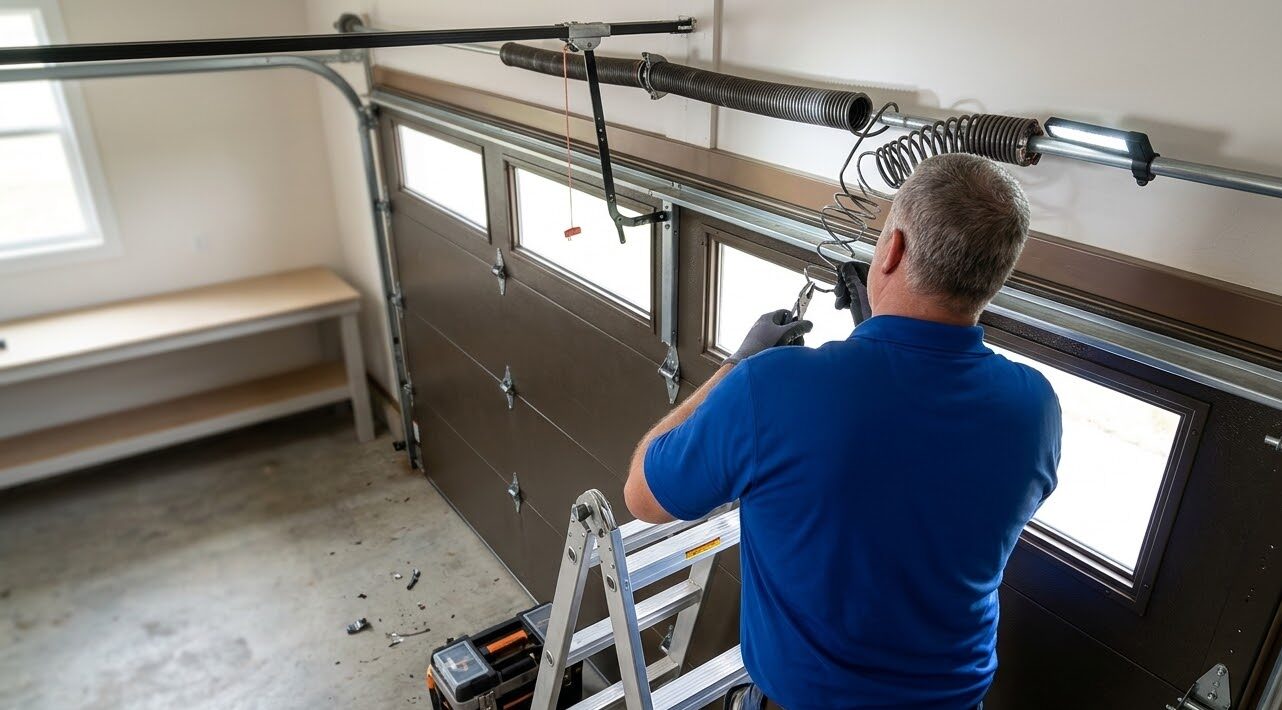
Almost nobody actually wants insulation. What they want is a garage that is bearable in the afternoon and a house that stops paying to remove heat that came in through a shared wall. Insulation is one of three ways to get there, and choosing the wrong one is how people spend money without changing anything.
- Retrofit a kit onto the existing door: $50 to $200 in materials, one to three hours, no special tools. Best value if the existing door is structurally sound and the seals are decent.
- Have a professional insulate and re-seal: Same panels, plus perimeter and bottom seal work, plus a balance check and spring adjustment. Costs more and removes the failure modes.
- Replace with a factory insulated door: The full solution, with a sealed sandwich construction the retrofit cannot replicate, at a full door price.
The retrofit is the right starting point far more often than the industry admits. It is also the option with the one hidden consequence, so read the balance section before buying anything.
What the Kits Cost and What They Actually Deliver
The retrofit market is small and the products are easy to compare, because there are really only three material approaches at the consumer level.
- Reflective bubble barrier: Laminated foil over a bubble layer. The Reach Barrier 3009 kit runs about $60 and lands around R-3 to R-5. Lightest of the three by a wide margin and the easiest to cut and fit.
- Rigid expanded polystyrene board: The Matador SGDIK001 kit runs about $151 and is rated R-4.8 at 75 degrees. Rigid panels that friction fit into the door sections, generally without tape or adhesive.
- Vinyl faced fiberglass batt: The Owens Corning kit runs about $118 with a dense fiberglass core in a washable white vinyl facing, rated around R-8. The highest nominal R-value of the three and the one that changes the look of the inside of the door the most.
All three install in roughly one to three hours with no special tools, which is the single strongest argument for doing it yourself. There is no trade skill in cutting panels to fit a door section. The skill is entirely in what comes after.
Why the Label R-Value Is Not What Your Door Gets

This is the most important paragraph in the article and the one the packaging never contains. An R-8 kit does not turn a single-layer door into an R-8 door.
The R-value on the box describes the panel, measured through the panel, in a lab. Your garage door is not a panel. It is a steel skin with horizontal stiles and rails and vertical struts, and those steel members run continuously from the outside face to the inside face. Heat takes the path of least resistance, and steel is an extremely good path. That is thermal bridging, and it means the assembled door performs meaningfully below the panel rating no matter how well the panels are cut.
A factory insulated door solves this differently. The insulation is foamed or laid in during manufacture and the section is a bonded sandwich, with the thermal path broken by design rather than filled after the fact. That is the real difference between retrofit and replacement, and it is a construction difference rather than a materials difference. The full comparison of factory constructions is in our Florida insulated garage door R-value guide.
None of that makes the retrofit pointless. It makes the expectation wrong. Expect a noticeably cooler door face, a quieter door, and a real but partial reduction in heat transfer. Do not expect the number on the box.
The Seal Leaks More Than the Panel Ever Will

Here is the correction that saves the most money and the one homeowners skip because it is boring.
Insulation slows conductive heat transfer through a surface. It does nothing about air moving through a gap. On most Florida garage doors more than a few years old, the gap is the bigger problem, and the gap has three locations: the bottom seal against the slab, the perimeter stop molding down both jambs and across the header, and the joints between sections.
Daylight visible around a closed door is a direct measurement of the problem, and it does not require a meter. A bottom seal that has gone hard and taken a permanent set no longer conforms to a slab that is never perfectly flat. Stop molding that has shrunk or pulled away leaves a continuous slot up both sides of the opening.
The honest priority order in Florida is seal first, insulate second. A $30 bottom seal and re-set stop molding frequently does more for garage temperature than the $150 panel kit does, and the two together do far more than either alone. If the seals are past it, bottom seal replacement is the cheapest meaningful upgrade available on a garage door.
What the Heat Reduction Is Actually Worth
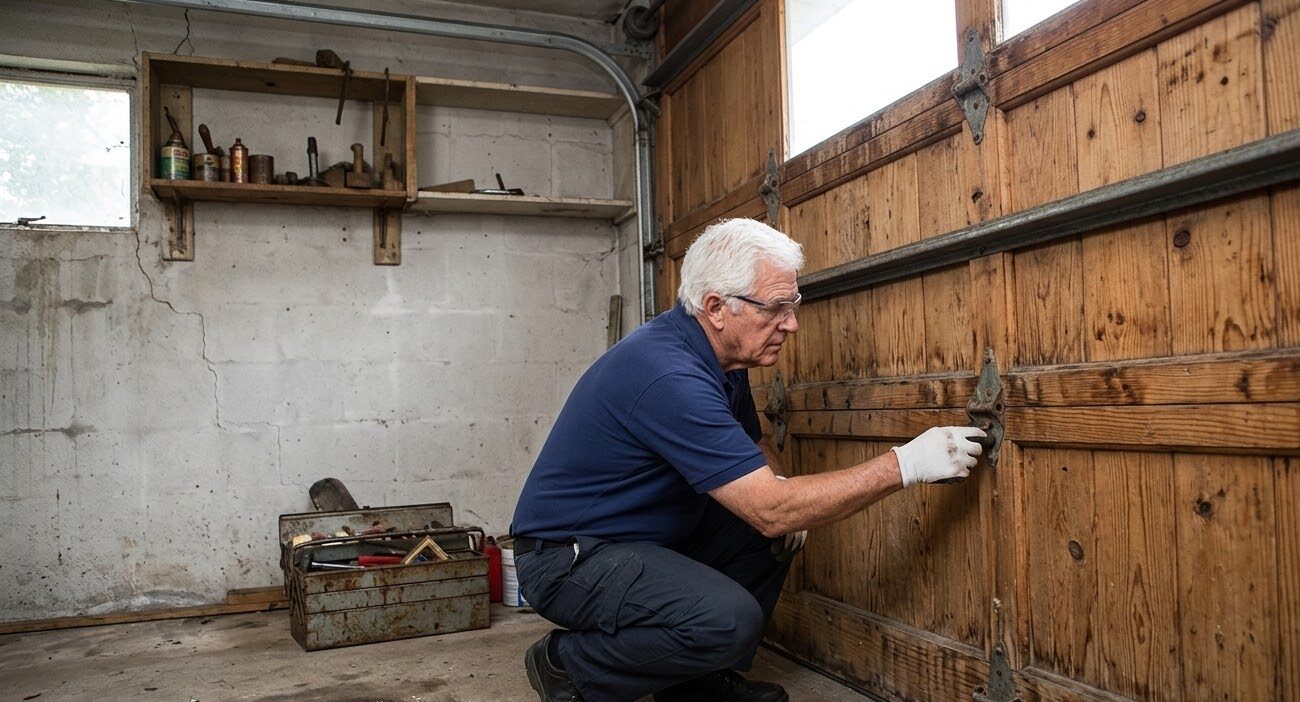
Reflective products in particular are marketed with dramatic numbers, so it helps to anchor on the sober version. The Department of Energy reports that radiant barriers reduce cooling costs by roughly 5 to 10 percent for homeowners in warm, sunny climates, and that the savings are smaller where the assembly is already well insulated.
Applied to a garage door, that translates into three effects, ranked by how reliably they show up.
- Comfort, immediately and obviously: The inside face of the door stops radiating at you. On a west-facing door in a Central Florida afternoon this is the change people actually notice, and it happens the same day.
- Reduced load on the house, modestly: An attached garage that runs cooler hands less heat through the shared wall and ceiling. Real, worth having, and smaller than the cooling savings from a new factory insulated door.
- Noise, as a free bonus: A filled door section rattles less and rings less. Nobody buys the kit for this and everybody notices it.
What a retrofit kit does not do is make an attached garage into conditioned space. If the goal is a workshop or a gym that stays usable in August, the door is one of five surfaces, and the walls, ceiling and slab are the other four.
The Four Situations Where the Kit Clearly Wins

Doing it yourself is the correct answer more often than a service company will tell you. These are the four cases.
- The door is sound and reasonably new: Straight sections, good rollers, seals in decent shape, and a door you expect to keep for years. The kit is pure gain.
- The goal is comfort rather than an energy payback: If you want the afternoon garage to stop being unbearable, the kit delivers that for a hundred dollars and an afternoon, and no payback calculation is required.
- The door is already a lightweight single layer: Ironically the worst insulated doors are also the ones with the most headroom in the spring system for a lightweight reflective kit, which brings us to the next section.
- Replacement is planned but not funded yet: A $60 reflective kit that buys two more tolerable summers before a door replacement is a completely rational purchase, and there is nothing wasteful about it.
The Weight Problem Nobody Mentions Until the Door Slams
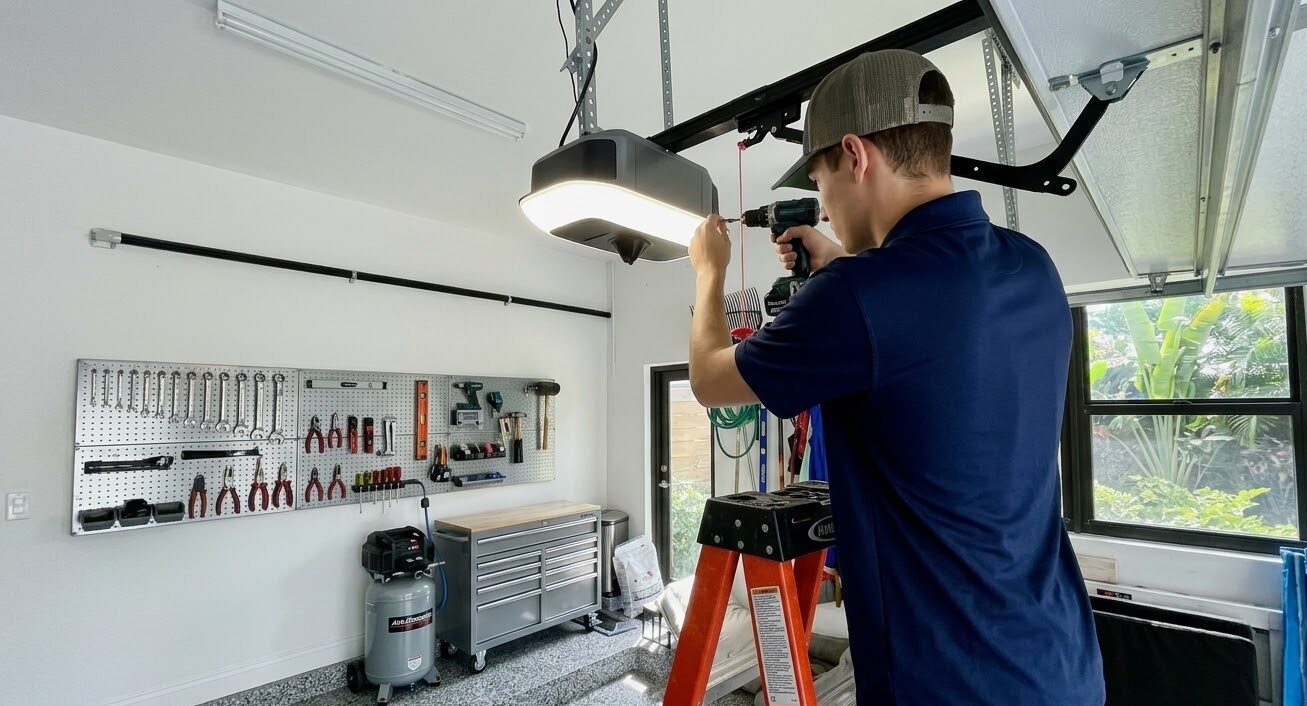
Every sectional garage door is counterbalanced. The springs are wound to offset the weight of that specific door so that the door is nearly weightless in the hands and the opener only has to overcome friction and inertia rather than lift the whole mass. The system was balanced for the door as it left the factory.
Add insulation and you change the weight the springs were wound for. How much depends entirely on the product. A light reflective bubble kit adds very little, and lightweight polystyrene kits are commonly cited as adding on the order of a couple of pounds. A heavier kit is a different story: the Matador kit ships around 10 pounds, and fiberglass batt kits with vinyl facing sit in the same general territory. Ten pounds across a double door is not catastrophic and it is also not nothing.
What an out-of-balance door does, in order of how soon you notice it:
- The opener works harder: It was sized to move a balanced door. Now it lifts the imbalance on every cycle, every day.
- The door will not hold position: Stopped halfway, it drifts down instead of staying put. That is the diagnostic symptom.
- Cables can come off the drums: An unbalanced door running with slack on one side is exactly how a cable jumps a drum, and that is a genuine service call.
- The door can close hard: A door that is heavier than its springs account for closes faster than it should. On a door with a family under it, this is the reason this section exists.
None of this means do not insulate. It means the job is not finished when the last panel is in.
The Two-Minute Balance Test
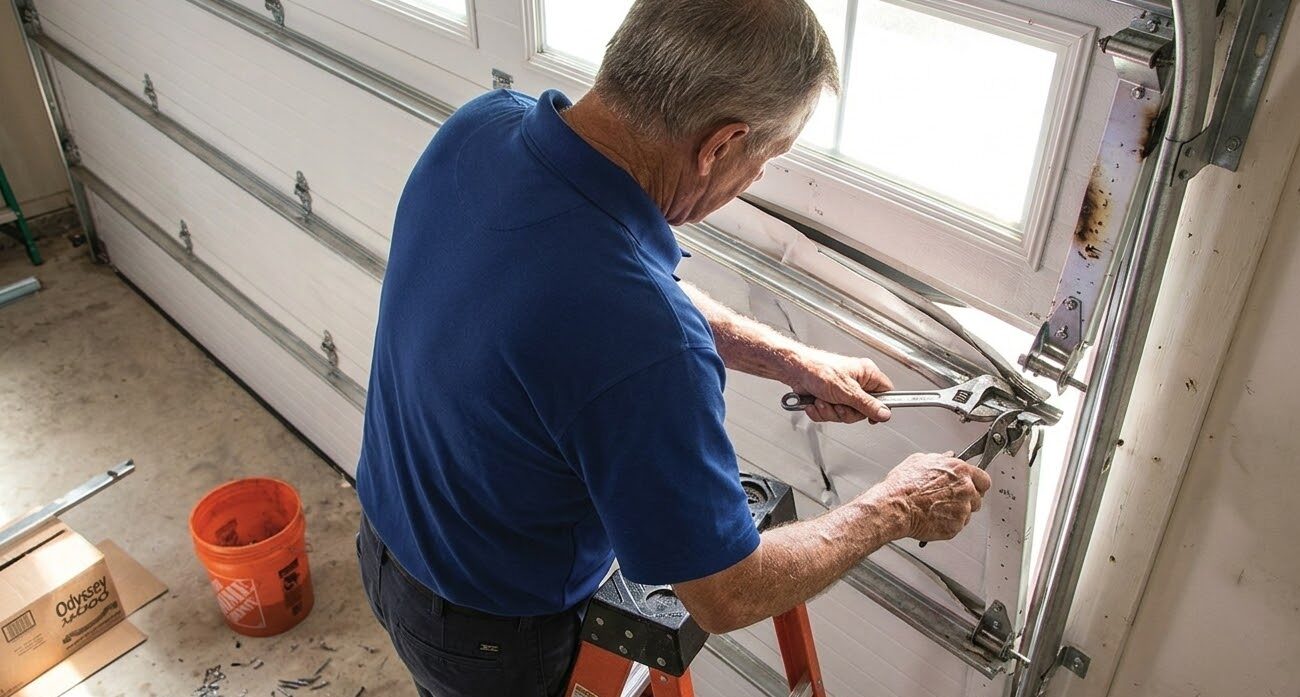
Run this after installing any kit, and run it once a year regardless. It requires nothing but your hands.
Pull the emergency release cord to disconnect the opener so the door is manual. Lift the door by hand to roughly waist height and let go. A correctly balanced door stays where you put it, or drifts a couple of inches at most. If it slides down, the springs are now undersprung for the new weight. If it rises on its own, they are oversprung.
Then, and this is the important part, stop there. Torsion spring adjustment is done a quarter turn at a time with winding bars on a spring holding several hundred pounds of stored energy, and adding a quarter or half turn to an existing spring is not automatically the right correction anyway, because a spring can be at or near the end of its rated cycle life. This is the one step in the whole project that is genuinely dangerous, and it is the reason balance adjustment is a service rather than a tip. If the door fails the test, or the springs are old enough that you do not know their history, the honest read is in our guide to the signs a garage door spring needs replacement.
When the Pro Is Actually the Cheaper Answer

Four conditions flip the math, and in each of them the DIY route costs more once you count what follows it.
- The door already fails the balance test: It is out of balance before you added a pound. Insulating it makes an existing problem worse and buries the symptom under a new variable.
- The springs are original on an older door: Springs have a rated cycle life. A spring near the end of it, now asked to counterbalance more weight, fails sooner. Combining insulation with spring replacement is one trip instead of two.
- Sections are damaged, rusted or out of true: Panels do not fit properly in a bent section, and the kit hides damage you should be looking at.
- You want the seal work done properly at the same time: Perimeter stop, bottom seal and section joints together, which is where the real Florida heat gain is. That combined scope is what garage door insulation and sealing covers as a single visit.
Warranty, Fire Rating and the Opener
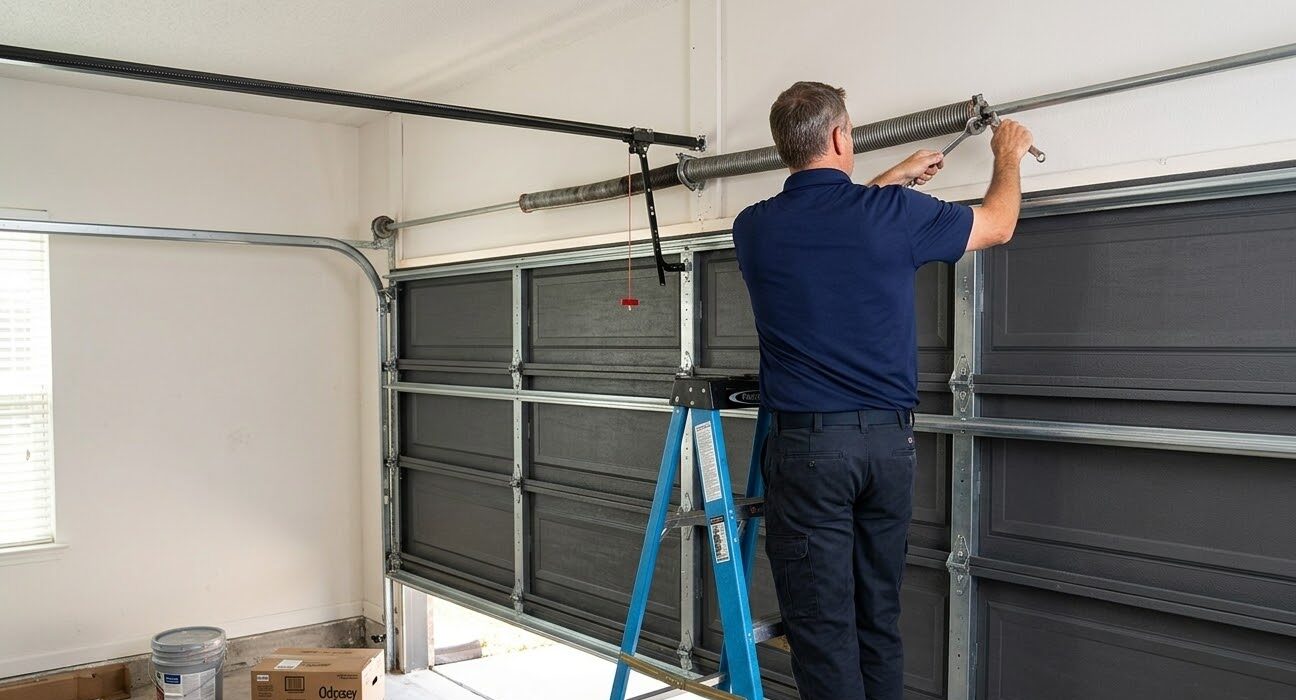
Three practical cautions that rarely come up until they matter.
First, adding aftermarket material to a door can affect the door manufacturer's warranty, particularly where the added weight contributes to a section or hardware failure. If the door is new enough to still be under warranty, that is worth a phone call before the panels go in.
Second, the wall and ceiling assembly between an attached garage and the living space is a fire separation with code requirements behind it. Insulating the door is unrelated to that assembly, but if the project expands into the walls and ceiling, the materials and coverings stop being a free choice.
Third, an opener that has been lifting a slightly unbalanced door for a year is not going to announce it. It will simply have consumed more of its service life than the calendar suggests. If the door was insulated at some point and never rebalanced, an inspection and door tune-up is the cheap way to find out what that cost.
Retrofit or Replace: The Honest Crossover

Here is the decision stated plainly, without a sales angle in either direction.
Retrofit if the door is sound, the seals are serviceable or cheap to fix, the springs are healthy, and the goal is comfort at low cost. That describes a large share of Polk County garages and the kit is genuinely good value for them.
Replace if the door is single layer and old enough that the springs and rollers are also near end of life, if sections are damaged, or if you are chasing a real energy payback rather than comfort. In that case the retrofit is money spent on a door you are going to remove, and the factory insulated construction delivers what the kit structurally cannot.
The trap is the middle case: an old door, an old spring set, and a heavy kit installed with the best intentions. That combination is how a hundred dollar project becomes a spring replacement, and it is entirely avoidable by running the balance test first rather than last.
The Order to Do It In
If you are going ahead, this sequence gets the most result for the least money and risk.
- Run the balance test before you buy anything: If the door already fails, fix that first. Everything else is built on it.
- Fix the seals next: Bottom seal and perimeter stop. Cheapest real gain available and it is not close.
- Choose the kit by weight, not by R-value: On an older door or older springs, the lighter reflective product is the safer choice even though the number on the box is smaller.
- Re-run the balance test after installation: Same two minutes. This is the step that gets skipped.
- Get the springs adjusted if it fails: By someone with winding bars and a reason to own them.
Rocket Garage Door Services works throughout Polk County, including Lakeland and Winter Haven, and we are happy to tell a homeowner that the kit from the home center is the right call, because on a sound door it often is. If the balance test came back wrong, or you would rather have the insulation, the seals and the spring adjustment handled in one visit, call (863) 624-3191 or start on the contact page.


