

The Two Sensors Are Different Parts, and That Is the Whole Diagnosis
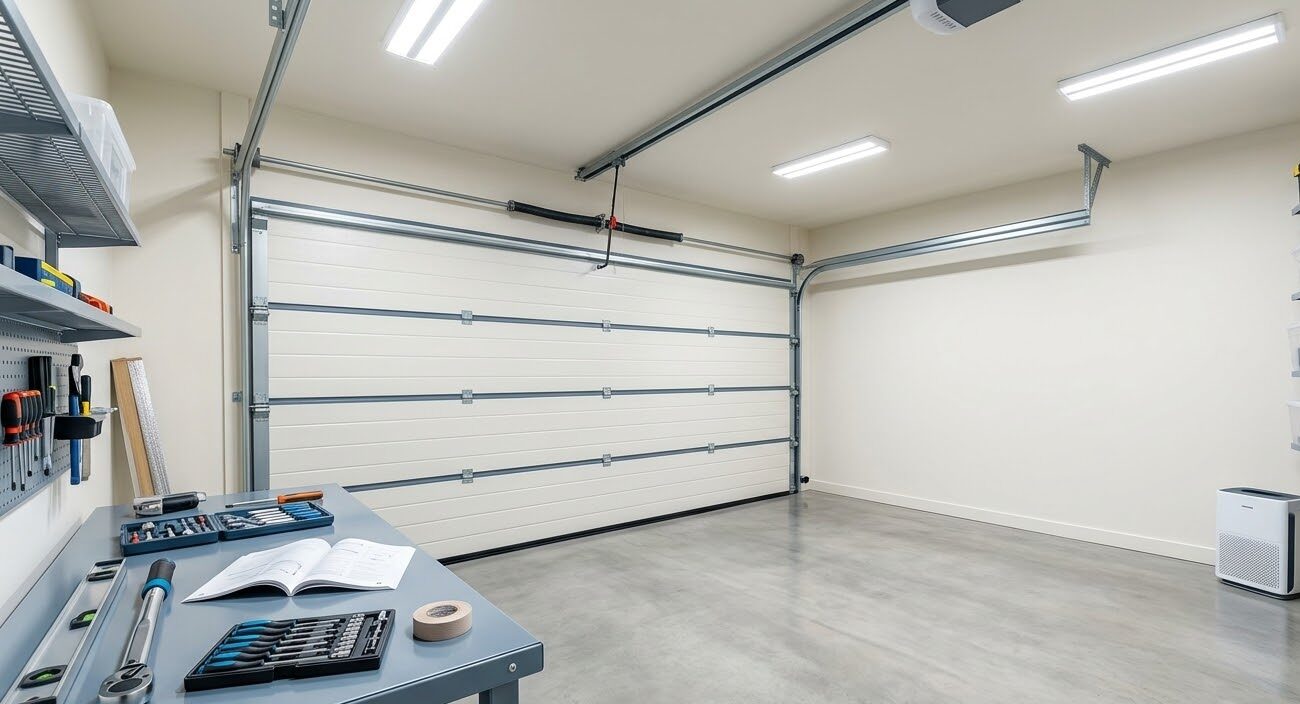
Almost everyone calls them the sensors, plural, as if they were a matched pair doing the same thing. They are not. One is a sending unit that emits an invisible infrared beam across the door opening. The other is a receiving unit that watches for that beam. If the receiver stops seeing the beam, the opener refuses to close the door, which is the entire point of the system.
Because they do different jobs, they get different LED colors, and the color convention is consistent within each brand:
- LiftMaster, Chamberlain and Craftsman: the sending unit shows amber, which most people read as yellow. The receiving unit shows green. Solid amber plus solid green is normal operation.
- Genie Safe-T-Beam: the sending unit shows red. The receiving unit shows green. As long as the receiving sensor glows steady and is not blinking, the system is aligned and working.
Now the useful part. A sender light does not depend on the receiver, so if the sender LED is on and steady, the sender has power and is transmitting. A receiver light does depend on the sender, so a blinking receiver means the beam is not arriving. Put those two facts together and the blink pattern tells you where to look before you touch anything.
The most common single case in the field: solid sender, blinking receiver. That is not a dead sensor. That is a beam that is not getting across, which is an alignment, obstruction or lens problem roughly nine times out of ten.
The Decode: What Each Pattern Means by Brand
Work from what you see, not from what the door is doing. The door refusing to close is the symptom for every one of these.
- LiftMaster or Chamberlain, solid amber and blinking green: the receiver is not detecting the signal from the sending unit. Misalignment, obstruction or a dirty lens. This is the most frequent pattern homeowners see.
- LiftMaster or Chamberlain, amber blinking or looking dim: the beam is not reaching the receiver, usually resolved by cleaning the lens, removing an obstruction, or adjusting the bracket until the light goes solid.
- LiftMaster or Chamberlain, one light completely off: that unit is not getting power, which points at wiring or a terminal connection rather than alignment. No amount of aiming fixes a dark LED.
- Genie, blinking red: the safety beam between the two sensors is interrupted, caused by misalignment, a dirty lens, a blocked beam or a wiring problem.
- Genie, three blinks: beam interruption or obstruction. This is the pattern to remember, because it is both the most common Genie code and the one most often caused by something that is not a fault at all. See the sunlight section below.
Then check the opener itself, because the motor unit light blinks in sync with the sensor to confirm the code, and the motor head codes are more specific than the sensor LEDs:
- One flash: a wiring problem in the sensor circuit.
- Two flashes: a short, or a reversed wire connection.
- Four flashes: the safety sensors are misaligned.
That distinction saves real time. Four flashes sends you to the brackets. One or two flashes sends you to the wire, and if you spend an hour aiming sensors on a two flash code you are solving a problem you do not have.
The Five Minute Sequence, in the Order That Works
Do these in order. Each step is cheaper than the one after it, and most doors are fixed before step four.
- One, write down both LEDs. Which color, solid or blinking, and how many blinks if it repeats a pattern. Do this before you move anything, because moving a bracket destroys the evidence.
- Two, clear the beam path. Look along the floor from one sensor to the other at sensor height, not from standing height. Trash cans, bikes, a stray extension cord, a broom leaning against the track, and cobwebs strung between the two lenses all break the beam. Spider webs are the single most underestimated cause in Florida garages.
- Three, clean both lenses. Soft dry cloth, both units. Dust, dirt and garage grime accumulate on the lenses and reduce beam detection, and even a light film is enough to cause intermittent problems where the door closes on some attempts and not others. Intermittent is the signature of a dirty lens rather than a failed part.
- Four, check alignment and bracket tightness. Both sensors must face each other directly with clear line of sight, and they must be at the same height so the beam runs level across the opening. Loosen the mounting nut, aim slowly, and watch the receiver LED go solid. Snug the bracket without overtightening, because overtightening twists the bracket and undoes the aim.
- Five, power cycle. Unplug the opener, wait thirty seconds, plug it back in. After a realignment the sensors need to reset, and a door that will not close immediately after a successful realignment often just needs the power cycle.
If the receiver goes solid and the door closes, you are done. If the LEDs are correct and steady but the door still will not close, the problem is not the sensors and you are looking at a different fault. Two of those live in their own guides: a door that reverses partway down or refuses to seal at the floor is covered in why a garage door will not close, and a door that quits at a consistent height is covered in a garage door that stops halfway.
When It Is the Sun and Not the Sensor
This is the one that sends Florida homeowners to buy parts they do not need, and it has a signature you can recognize in one question: does it only happen at a certain time of day?
Sunlight carries infrared light, exactly like the safety sensors do. When low sun shines directly into the receiving lens, the receiver cannot pick its own sender's beam out of the background, and it reports an interruption. On a Genie system that shows up as three blinks with nothing visibly blocking the beam. On a LiftMaster it shows up as a blinking green receiver that mysteriously resolves itself after sunset.
The Central Florida version of this is a west facing garage door in the late afternoon, and it gets worse in winter when the sun sits lower and comes in nearly parallel to the floor. A door that has worked perfectly for four years and starts nuisance reversing every day around 5pm in November is not a door with a failing sensor. It is a door whose receiver is now staring into the sun for forty minutes a day.
Three fixes, cheapest first:
- Swap sides. Move the receiving unit, the green one, to the shady side of the garage and put the sender on the sunny side. The sender does not care about sunlight because it is not trying to detect anything. This costs nothing but a wire route and it solves the problem permanently.
- Add sunlight shields. Small hoods that attach to the sensor and block direct sun from reaching the lens while leaving the beam path open. They are made for exactly this and they are inexpensive.
- Angle the receiver a few degrees. Tilting the receiving sensor slightly downward, toward the floor, can move the lens out of the direct sun path. Adjust a few degrees at a time and watch the LED during the problem hour to confirm, since this one requires verification at the time of day that was failing.
The tell that separates sun from everything else is time. Sun problems are scheduled. Real faults are not.
Wiring: When Cleaning and Aiming Change Nothing
If the opener flashes one or two times, or if a sensor LED is fully dark, stop aiming and follow the wire. Sensor wire is low voltage and thin, and it runs along the track where it is exposed to everything that happens in a garage.
The failures we find most often, roughly in order:
- A staple driven through the insulation. Usually from the original install, and it can take years to corrode through to a short. A two flash code on a door that never had a sensor problem before points here.
- Wire pinched behind the track or the roller bracket. Repeated cycling wears the insulation until the conductors touch the metal track.
- Loose terminal screws at the motor head. The sensor wires land on small screw terminals, and thermal cycling backs them out. This is a thirty second fix if you find it.
- Corroded splices. Florida humidity gets into a twisted splice or a cheap wire nut and turns a connection into a resistor. The symptom is intermittent and it gets worse in summer.
- Rodent damage. Less common, obvious when you find it, and it requires replacing the run rather than patching it.
A reversed wire connection produces the two flash code specifically, which is a useful clue after any repair where the wires came off. If someone replaced a sensor last month and you are getting two flashes now, the polarity is very likely swapped at one end.
The Six-Inch Rule, and Why a Previous Repair May Have Broken It
Under the UL 325 safety standard, the photo eye sensors that protect a closing garage door must sit no more than 6 inches above the floor. That has been the requirement for residential garage door openers since 1993. Six inches is a maximum rather than a target, so anywhere from a couple of inches up to six is compliant, and many technicians work in the four to six inch range as a practical sweet spot. Both sensors have to be at the same height so the beam runs level, and they need to be within six inches of the door's path measured perpendicular to the door.
The height is deliberate. It puts the invisible beam down where it catches a small child or a pet lying in the doorway rather than only an adult standing up. Mounted above six inches, the photoelectric eyes may not detect what they exist to protect, which is a person lying on the floor.
Here is why this belongs in a troubleshooting article. When sensors nuisance trip, a fast and wrong way to stop the complaints is to raise them, because higher sensors catch fewer low obstructions. If your sensors are mounted at knee height, someone did that at some point, and the door is now non compliant in exactly the scenario the standard was written for. Measure yours. If they are above six inches, moving them down is the repair, and if moving them down brings the nuisance trips back, then the actual cause was never addressed and you are back to the sun, lens and alignment list above.
Do Not Bypass the Sensors, and Here Is the Specific Reason
Search results will offer you two shortcuts: jumper the sensor terminals, or hold the wall button to force the door down. Both make the symptom disappear and both remove the only thing standing between the door and whatever is under it.
The opener refusing to close on a broken beam is not a malfunction. It is the entrapment protection required by UL 325 doing precisely what it is designed to do. A modern residential opener will not close on a broken beam because federal safety requirements say it must not, and a door with the beam bypassed has no automatic way to detect a child, a pet or a bicycle in its path.
There is a related shortcut worth naming because it comes up in the same conversation: raising the force setting to push through a problem. That has its own failure mode and its own article, in the guide to a door that stops halfway. For the sensor circuit specifically, if you need the door closed tonight and cannot get the beam back, use the manual release and the deadbolt rather than defeating the safety system, then fix it properly. Our garage door safety inspection covers the whole entrapment protection chain, sensors and auto reverse together, and testing the auto reverse function is walked through in our guide to garage door safety sensors.
What It Costs When It Is Not a Five Minute Fix
Pricing splits cleanly along the line between adjustment and replacement.
- Adjustment or cleaning only: usually handled within a basic service call, typically $80 to $130.
- Sensor replacement, installed: $125 to $300 depending on sensor type, brand and installation complexity. Infrared beam sensors, the common type on modern doors, run $125 to $275 per pair installed. Some sources put a full pair with labor at $175 to $400 once diagnostics and a system check are included.
- Parts only for a DIY replacement: $15 to $40 for a matched pair, with a professional service call running $100 to $200 including labor if you would rather not do it.
- Wiring repair: priced by the run. A loose terminal is a minute. Replacing a damaged wire run along the track is labor, not parts.
Two buying notes. Replace sensors as a matched pair from the same manufacturer as your opener rather than mixing brands or replacing one side, because the sender and receiver are tuned to each other. And if the sensors are original to an opener that is fifteen years old or more, the honest conversation is about the opener rather than the sensors, which is the subject of our comparison of opener repair against replacement.
Three Things That Make Florida Garages Harder on Sensors
The failure rate on this part is not uniform across the country, and three local conditions explain most of the difference here.
- Humidity in the connections. Low voltage splices and terminal screws corrode faster in a humid, unconditioned garage, and corrosion in a sensor circuit produces intermittent faults rather than clean failures. Intermittent is the hardest kind to chase, which is why we open the terminals on a sensor call instead of only aiming the brackets.
- Spiders and lens film. Warm garages support a lot of web building, and a web strung directly between two lenses six inches off the floor is invisible from standing height and perfectly effective at breaking an infrared beam. It is also the reason a door can fail in the morning and work in the afternoon.
- Sun angle and afternoon storms. The west facing door problem described above is a genuine seasonal pattern here, and the afternoon rain that follows it drives grit up onto low mounted lenses. Both of those hit sensors specifically because sensors live at ankle height at the open end of the garage.
None of the three are hard to manage once you know to look for them. All three reward a scheduled once a year lens clean and terminal check, which is part of what a garage door tune up includes.
When to Stop and Call
Call when the LEDs contradict the symptom, because that is where homeowner troubleshooting runs out. Both lights solid and steady but the door still reverses means the fault is elsewhere in the safety or travel system. An opener flashing a wiring code after you have already checked the visible wire means the damage is inside a run or at a terminal you cannot reach safely. And a door that reverses on a beam that is definitely clear, at all hours, with clean lenses and correct alignment, is telling you the sensor itself has failed rather than been blocked.
We handle sensor diagnostics and garage door sensor repair across Polk County, including Lakeland, Winter Haven and Bartow. Call (863) 624-3191, and when you do, tell us which LED is blinking and how many times, plus whether it happens at a particular time of day. Those two pieces of information frequently decide the repair before the truck arrives.

