The Step Almost Everyone Skips, and Why the Keypad Never Learns
A Chamberlain keypad has to be told two separate things, and the internet usually only tells you one of them. First the keypad has to know which radio generation it is speaking, because Chamberlain has shipped four of them and a keypad set to the wrong one transmits into the void. Then the opener has to be told to accept that keypad.
Nearly every failed keypad attempt is someone doing the second part without the first. They press the Learn button, punch in a code, hold ENTER, and nothing happens. They assume the keypad is defective, buy another one, and hit the same wall, because the new keypad ships on the default generation too.
This guide does both halves, in order, with the exact button counts. It covers the current 940EV and 877MAX family, the older LiftMaster-branded keypads that are the same hardware, changing a PIN without erasing anything, the temporary PIN for a delivery or a guest, and what to do the week you move into a house where a stranger may still know a four-digit code. If you are troubleshooting a broader radio problem rather than programming, our guide to a garage door remote not working covers the diagnostic order.
Step Zero: Find the Learn Button and Note Its Color
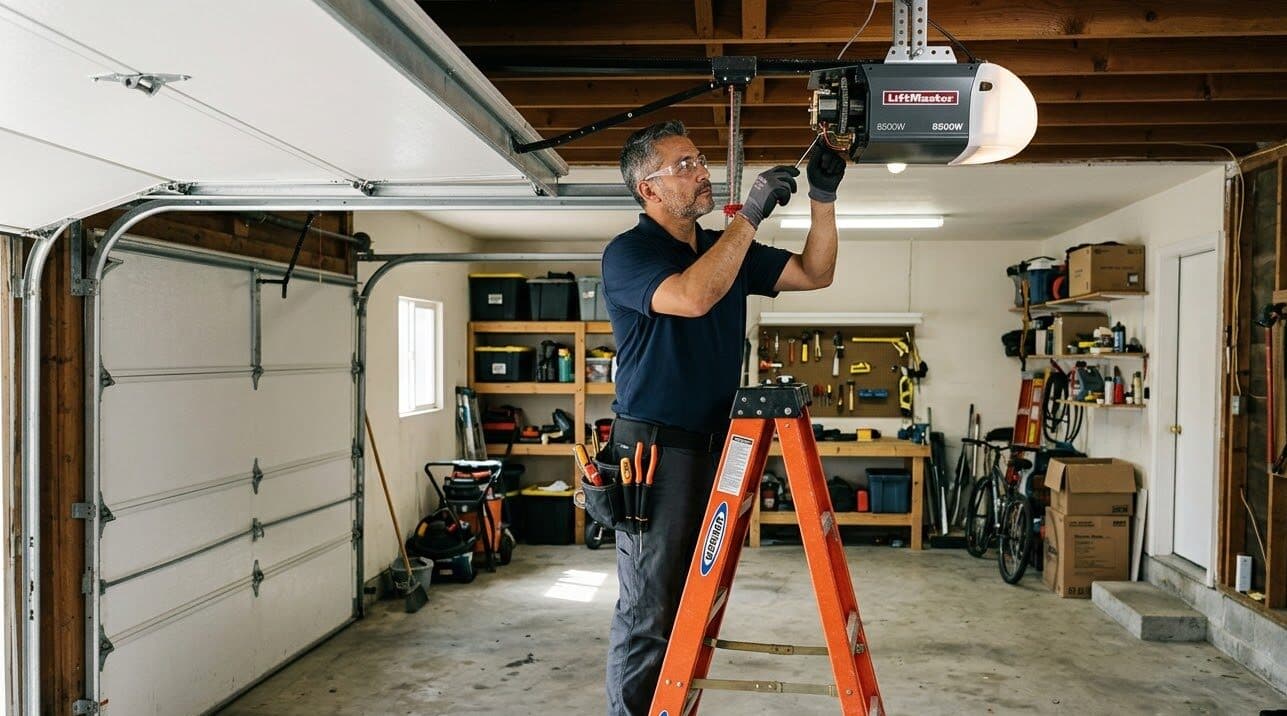
Get a ladder and look at the back or side panel of the motor head, usually near where the antenna wire hangs down. Under a light lens or a small cover there is a square button next to an LED. The color of that button is the single most important piece of information in this entire article, because it identifies the radio generation and therefore the button count you will use in a minute.
| Learn button color | Radio generation | ENTER presses in setup |
|---|---|---|
| Yellow | Security Plus 2.0 | 1 |
| Purple | Security Plus, 315 MHz | 2 |
| Red or orange | Security Plus, 390 MHz | 3 |
| Green | Billion Code, 390 MHz | 4 |
If there is no Learn button at all, the opener predates the learn-code era and uses physical dip switches. No modern keypad will program to it. That unit is old enough that a replacement conversation is the honest one, and the tradeoffs are laid out in our comparison of LiftMaster, Chamberlain and Genie openers.
One more note on color, because it saves a return trip to the store: the color tells you which accessories are compatible, not just how to program. A keypad sold for Security Plus 2.0 will pair with a yellow-button opener without any generation step at all, which is why the yellow path is the shortest one below.
Programming the Initial PIN on a 940EV or 877MAX Keypad
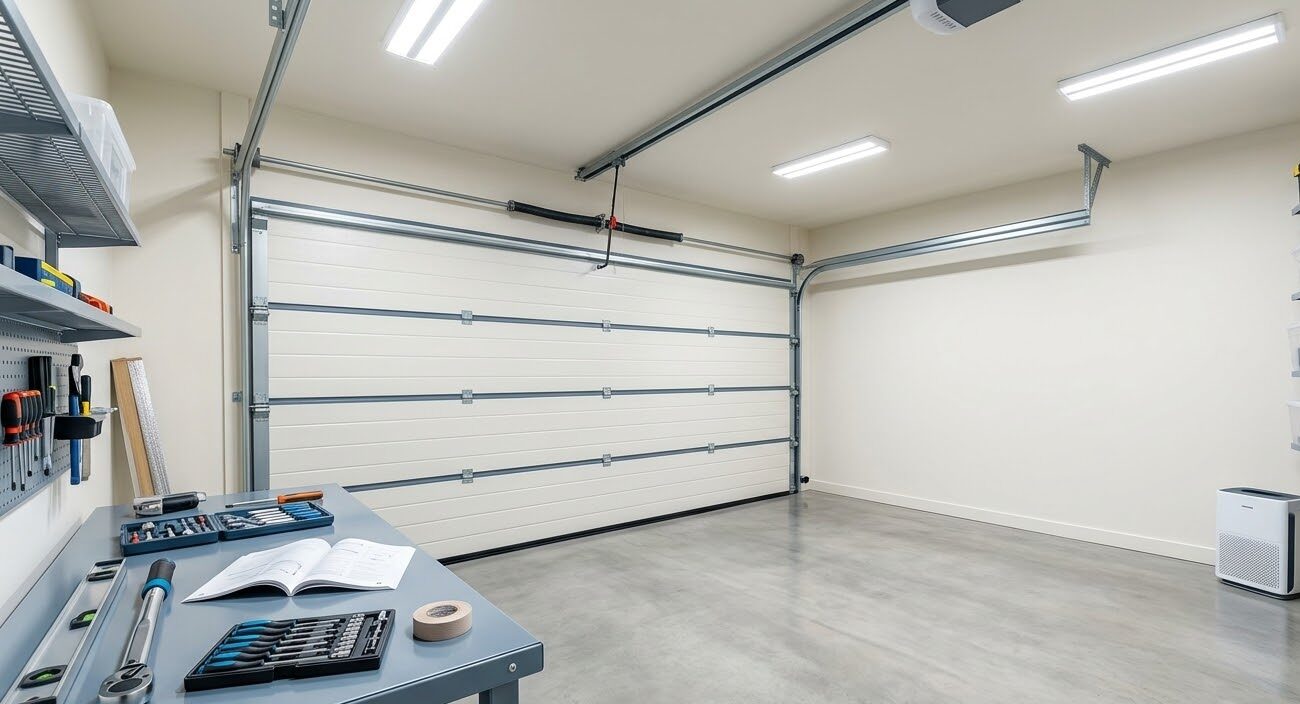
This is the current procedure published by Chamberlain for the 940EV, 940EVMC, 877MAX and 877MAXMC keypads. Do it with the door closed and the area clear, and do it standing near the motor head, because the 30 second window in the middle is not generous.
- Clear the garage door area of obstructions and locate the LEARN button on the opener.
- On the keypad, press and hold the star and the pound keys together until the lights on the keypad stop blinking.
- Enter the four-digit PIN you want to use, then press the pound key.
- Press ENTER the number of times that matches your Learn button color: once for yellow, twice for purple, three times for red or orange, four times for green.
- Press 0.
- Go to the opener and press the LEARN button. The LED next to it will light up. You now have about 30 seconds.
- Back at the keypad, enter your PIN and press ENTER until the opener lights flash or you hear two clicks.
- Test it. Enter the PIN, press ENTER, and the door should move.
Steps 2 through 5 are the generation half. Steps 6 and 7 are the pairing half. If you skipped straight to step 6, which is what most online instructions have you do, the keypad is transmitting on a generation the opener does not answer, and nothing you do at the Learn button will change that.
Two practical notes. Stand close to the opener for step 7, since a keypad still mounted outside a block wall is often too far away to complete the handshake reliably. And if the LED on the opener goes out before you finish, the window expired. Press LEARN again and repeat step 7 only. You do not have to redo the generation steps.
The Older Keypads: Programming From the Wall Control or the Opener
Chamberlain and LiftMaster are the same company, so the older LiftMaster-branded keypads are the same hardware with different lettering. Models 376LM, 377LM, 877LM, 940LM, 940D, 940ESTD and 976LM use a shorter sequence, and there are two ways in.
- From a multi-function wall control: press the LEARN button on the wall control twice, and the command LED will flash. Enter a four-digit PIN on the keypad and press ENTER. The opener lights will blink to confirm.
- From the opener itself: press and release the LEARN button on the motor head, which opens a 30 second window. Enter a four-digit PIN on the keypad and then press and hold ENTER until the opener light blinks.
The wall-control path is the easier of the two if your wall console has a LEARN button, because you are standing at chest height instead of on a ladder and the keypad is within easy walking distance. Older single-button wall consoles do not have it, in which case the ladder is the only route.
Changing the PIN Without Erasing Anything
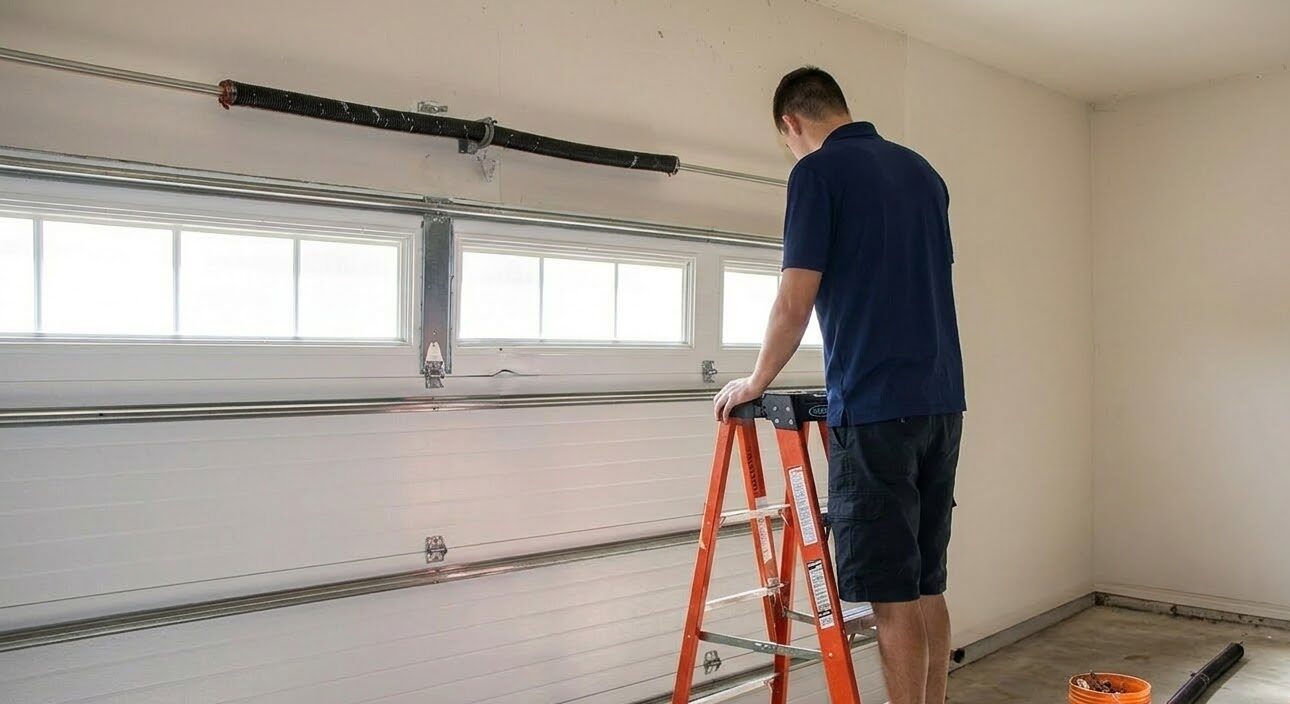
This is the procedure most people need and almost nobody finds, because search results bury it under full resets. You do not need to erase the opener's memory to change a code. There is a dedicated sequence, it takes about fifteen seconds, and it does not touch your remotes.
- Clear the garage area and make sure the door is closed.
- Enter your current programmed PIN on the keypad.
- Press and hold the pound key until the garage door opener light bulb flashes twice.
- Enter the new four-digit PIN and press ENTER. The opener light flashes once to confirm.
- Test the new PIN, then test that the old one no longer works.
That last line matters and people skip it. Confirming the new code works is half the test. Confirming the old code has stopped working is the half that tells you the change actually took, instead of adding a second valid code you do not know about.
On openers with a green Learn button or an external receiver, this shortcut is not available. Chamberlain's own guidance for those is to repeat the full initial PIN procedure from the section above, which overwrites the old code as part of the setup.
The Temporary PIN Nobody Uses and Everybody Should
Chamberlain keypads support a second, time-limited code alongside your permanent one, and it is the single most underused feature on the device. You can hand out a code that expires on its own instead of giving a contractor, a dog walker or a delivery service the code you also use every day.
- Enter any current valid PIN.
- Press and hold the star key until the garage door opener light blinks three times.
- Enter the new four-digit temporary PIN and press ENTER. It cannot match any PIN already programmed.
- Set the limit: enter a number of hours followed by the star key, or a number of uses followed by the pound key.
Use-count limits cap out at nine uses on these keypads, which is the right shape for a one-time delivery or a weekend visitor. Hour limits are better for a contractor working a multi-day job. Either way the code deletes itself, which means you never have to remember to go change it back, and remembering to change it back is exactly the step everybody fails.
Moving Into a House: What to Actually Do in Week One
A previous owner who remembers a four-digit code does not need a remote, a key or your permission. This is the most common real security gap we see in Polk County homes that changed hands, and it costs nothing to close.
- Change the keypad PIN first, using the fifteen second procedure above. It is the fastest of these tasks and it closes the widest hole.
- Then erase the opener's radio memory, which wipes every remote, keypad and in-car button the unit has ever learned. Hold the LEARN button until the LED goes out, roughly 6 to 10 seconds depending on the model.
- Then reprogram only the devices you actually have in your hand. Your remotes, your keypad, your car buttons. Anything you do not reprogram stays locked out permanently.
- Do not forget the car. Built-in HomeLink and Car2U buttons in a vehicle the seller kept are a separate radio device, and they stay paired until the erase above wipes them.
- If there is a myQ account attached, the previous owner's account may still control the door from an app. That is a separate cleanup from the radio erase, and we walked through it in the myQ WiFi setup guide.
The full sequence for wiping and rebuilding an opener's memory, including what the LED does at each stage, is documented step by step in our guide to resetting a LiftMaster opener, and it applies identically to Chamberlain units.
The Keypad Beeps and Accepts the Code, but the Door Does Not Move
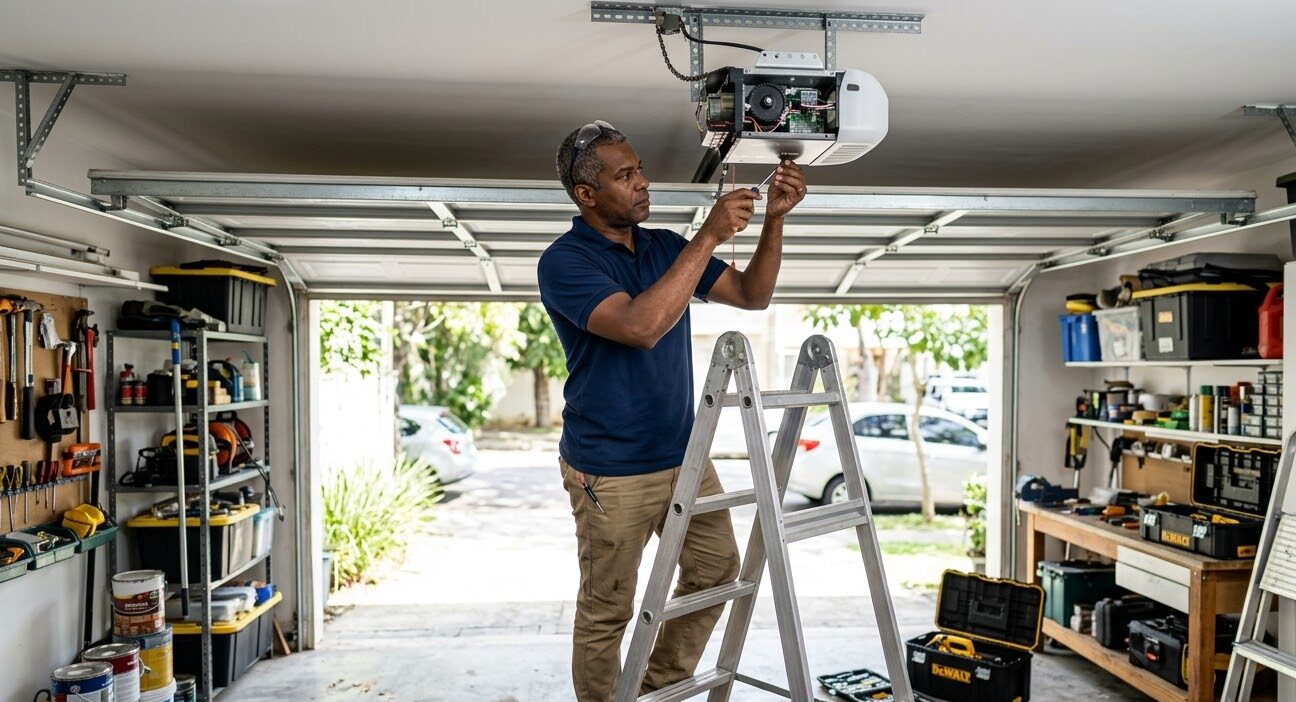
This is a different problem from a keypad that does nothing at all, and the split is useful. If the keypad lights up and responds to your presses, the keypad's own electronics and battery are working. The failure is in the radio link or in the opener.
- The generation step was skipped. By a wide margin the most common cause, and the reason this article starts where it does. Redo the procedure from step 2, including the ENTER press count for your Learn button color.
- You were too far away during pairing. Block construction and stucco are hard on a low-power handshake. Reprogram standing next to the motor head, then remount the keypad.
- The keypad is from a different radio generation than the opener. A yellow-button opener and a keypad that only supports the older Security Plus generations will never pair, regardless of technique.
- The wall console lock feature is on. Many Chamberlain wall consoles have a lock or vacation button that disables all wireless devices while leaving the wall button working. If your remotes also stopped, check this before anything else.
- The opener's receiver board has failed. If the wall button works and nothing wireless does, including a remote you know is good, the board is the suspect, and that is a parts job rather than a programming one. Opener repair is where that lands.
Why Florida Kills Keypads Faster Than the Rest of the Country
A keypad lives outdoors, on a wall, in full sun, for its entire service life. In Central Florida that is a harder assignment than the product literature assumes, and the failure modes are predictable.
- The 9-volt battery runs down on its own schedule. A keypad battery is not on the same clock as your visor remote and it drains faster in heat. Weak or intermittent response to key presses is the first symptom, well before it dies outright.
- Battery contacts corrode. Humidity gets into the compartment and green crust builds on the terminals. The keypad will look fine and behave randomly. Cleaning the contacts fixes a surprising share of dead keypads.
- The rubber membrane hardens and cracks. Years of UV on a west-facing wall stiffens the keys until individual digits stop registering. If one number in your code is the only one that fails, this is why.
- Mounting location is doing damage you can prevent. A keypad in direct afternoon sun ages several times faster than one under an eave or on a shaded jamb. When you replace one, move it out of the sun if the wiring and reach allow it.
- Water gets in behind a flush-mounted unit. Mount it with the supplied backing and make sure water running down the wall sheds around the unit rather than behind it.
A keypad that has been through two Florida summers and now responds intermittently is usually telling you about the battery and the contacts, in that order. Replace the battery, clean the terminals with the power out, and only then start suspecting the programming.
What It Costs and When to Stop Trying
A replacement Chamberlain keypad is inexpensive relative to almost anything else on the door, and the programming is genuinely a do-it-yourself job for most people once the generation step is included. Spend the ladder trip, note the Learn button color, and work through the eight steps in order.
Stop and call when one of three things is true. First, there is no Learn button, which means the opener predates the technology and no keypad will pair with it. Second, the wall button works and nothing wireless does after a full erase and reprogram, which points at the receiver board. Third, the door does something you did not ask for during testing, such as reversing early, stopping partway or refusing to close, because that is a travel, force or sensor issue and it is a safety matter rather than a convenience one.
Rocket Garage Door Services works Lakeland, Winter Haven, Haines City, Bartow and the rest of Polk County. If programming turned into a diagnostic, a safety inspection is usually the faster path than continuing to guess, and remote and keypad pairing is covered under opener and remote programming. Homeowners in Lakeland and Winter Haven can usually be scheduled within a day or two.