

"Reset" Means Four Different Things on a LiftMaster
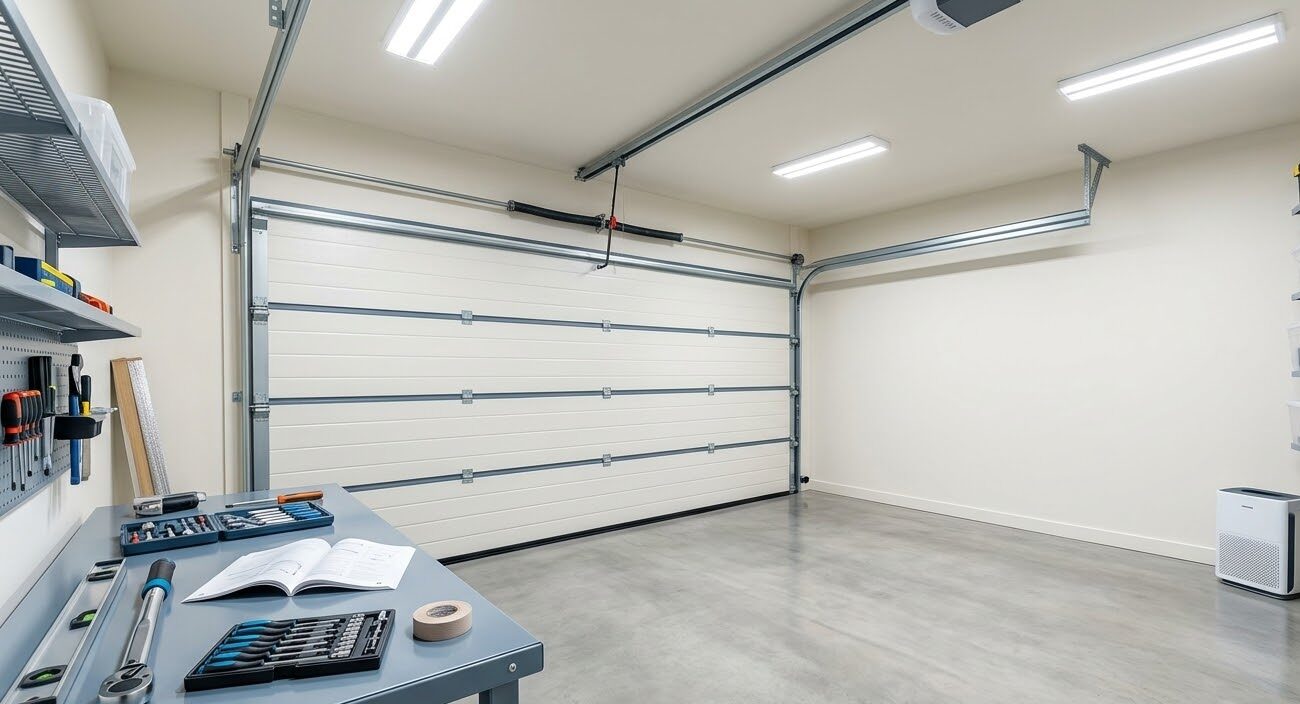
When somebody calls us and says they need to reset their LiftMaster, the next question is always the same: reset what? Because there are four separate operations that all get called a reset, they use different buttons, and doing the wrong one either accomplishes nothing or erases something you wanted to keep.
- Erasing the radio memory: wiping every remote, keypad and car button the opener has ever learned. This is the one people usually mean when they bought the house from someone else.
- Relearning a remote or keypad: teaching a device back to an opener that already works. Most of the time this is all that was needed and no erase was required at all.
- Resetting travel limits: teaching the opener where fully open and fully closed are. A completely different set of buttons, and the fix when the door stops short, hits the floor and bounces back up, or leaves a gap.
- Factory reset of a myQ or Wi-Fi enabled unit: clearing the network settings and the account linkage on a connected opener. This is the one that matters when the app still shows the previous homeowner as the owner.
Work out which of the four you actually need before you touch the motor head. The rest of this page walks each one, in the order most homeowners need them.
Step Zero: Find the Learn Button and Note Its Color
Everything radio-related on a LiftMaster happens at the Learn button, and it lives on the back or the side of the motor head, usually right next to the antenna wire. On many units it is behind a removable light lens or a small panel, which is why people swear their opener does not have one.
Note the color before you press anything. LiftMaster and Chamberlain have used yellow, purple, red, orange and green over the years, and the color tells you the radio generation of the unit, which in turn tells you which remotes and keypads are compatible with it. All of them behave the same way for programming, but a remote bought for the wrong generation will never learn no matter how many times you reset. If you are buying a replacement remote, match the generation rather than the model number on the old one.
While you are back there, find the small LED next to the Learn button. That LED is the only feedback the opener gives you during every procedure on this page, and every step below is confirmed by watching it.
Reset 1: Erase Every Remote, Keypad and Car Button
This is the full radio wipe, and it takes about eight seconds.
Press and hold the Learn button for roughly 6 to 10 seconds, until the LED next to it goes out. When that light goes out, every remote control, every wireless keypad and every built-in car button the opener had stored is gone from memory. Release the button.
The critical detail is the hold. A press and release of the Learn button puts the opener into programming mode so it can learn a new device. A press and hold erases everything. Those are opposite outcomes from the same button, and this is where most of the confusion on this topic comes from.
Do this when you move into a house and do not know how many remotes exist, when a remote is lost or stolen, when a vehicle with a programmed HomeLink button is sold, or when a contractor or tenant had access. Do not do it when one remote stopped working and the others are fine, because in that case the opener memory is not the problem and you are about to give yourself the work of reprogramming every device in the house.
One thing an erase generally does not touch: on most LiftMaster and Chamberlain units, clearing the Learn button memory does not change travel limits or force settings. A handful of older models behave differently, so if your door starts behaving strangely after an erase, check the manual for your specific model rather than assuming.
Reset 2: Programming a Remote Back In
After an erase, or any time you are adding a device, the sequence is the same and it is short.
Press and release the Learn button. The LED comes on, which means the opener is listening, and you have a limited window, commonly about 30 seconds. Within that window, press and hold the button on the remote you want to program until the opener lights flash or the opener clicks. Release. That device is learned.
Two failure modes account for nearly every unsuccessful attempt. The first is running out of the window, because the homeowner presses Learn, then walks to the car to find the remote. Bring every device to the motor head before you start. The second is a dead remote battery, which produces exactly the same symptom as an incompatible remote: nothing happens. Put a fresh battery in before you conclude the remote is bad.
Repeat once per device. If you have three remotes, a keypad and two car buttons, that is six passes through the same sequence. If you would rather not do six trips up a ladder, this is the kind of thing that gets handled in a single visit under opener and remote programming.
Reset 3: The Keypad, Which Is Its Own Procedure
Wireless keypads are not remotes and they do not program the same way, which is why people get one working and not the other.
The general sequence is to press and release the Learn button at the motor head, then go to the keypad, enter the four-digit PIN you want to use, and press and hold the enter or the arrow key until the opener lights flash or you hear a click. On some keypad generations the last step is pressing and holding a specific button rather than enter, so the keypad instructions matter here more than they do for a handheld.
Changing the PIN on a keypad is worth doing separately from any reset, and it is the single most overlooked security step on a house that changed hands. A previous owner who remembers a four-digit code does not need a remote.
If the keypad accepts the code and the door does nothing, the usual culprits are the keypad battery, distance from the motor head during programming, or a keypad from a different radio generation than the opener. Keypads also live outdoors in Central Florida heat and humidity, and the membrane and battery contacts are the parts that go first.
Reset 4: Travel Limits, and Why It Is a Different Set of Buttons
If your door stops a foot short of the floor, reverses right as it touches down, or closes but leaves a gap at the bottom, you do not need the Learn button at all. You need to reset the travel limits, and on a LiftMaster that lives on the adjustment and arrow buttons, not on Learn.
On a Security+ 2.0 or myQ enabled opener, LiftMaster publishes this sequence. Press and hold the adjustment button until the UP button starts to flash and, on units with a beeper, you hear a beep. Hold the appropriate arrow to run the door to the fully open position you want, then press and release the adjustment button. The opener lights flash twice and the DOWN button starts flashing. Hold the appropriate arrow to run the door to the fully closed position you want, then press and release the adjustment button. The lights flash twice again and the UP button starts flashing.
Older units from roughly the 2005 to 2011 era used black and purple or black and yellow buttons for travel and force. Units older than that used physical adjustment screws on the end panel, where turning the down limit screw clockwise decreases down travel and counterclockwise increases it, and one full turn of the screw equals about two inches of door travel. Three generations, three methods, same outcome.
The Force Learning Cycle Almost Nobody Finishes
This is the step that gets skipped, and skipping it is why a door that was just adjusted still misbehaves.
After the up and down positions are set, the opener has to run a complete cycle in each direction to learn how much force that travel requires. Press and release the UP button. When the door reaches the programmed open position, the DOWN button starts flashing. Press and release the DOWN button. The door travels to the programmed closed position and programming is complete.
If the opener flashes five times, the programming timed out and you start over. If it flashes ten times, your safety sensors are misaligned or obstructed, and no amount of travel programming will succeed until that is fixed first. Ten flashes during a travel reset is one of the most common calls we get, and it is a sensor problem wearing a programming problem costume. The full diagnostic on those is in our guide to garage door safety sensors.
Force settings exist for one reason, which is to make the door stop and reverse when it meets something that should not be there. Setting travel without letting the force cycle complete leaves the opener working from stale force data, and an opener with wrong force data either nuisance-reverses on nothing or fails to reverse on something. Neither is acceptable.
The One-Inch Board Test You Owe Yourself Afterward
LiftMaster instructs you to test the safety reversal system after programming travel, and it takes thirty seconds.
Lay a one-inch board flat on the floor in the door opening, in the center. Run the door down. When the door strikes the board it must reverse. If it does not reverse, or if it stops and sits on the board, the door is not safe to leave in service and the force or travel settings are wrong.
Run the photo eye test too while you are there. With the door closing, wave an object through the sensor beam near the floor. The door should stop and reverse immediately. These two tests are the only proof that a reset actually left the door in a safe state, and they belong in your routine any time the opener has been reprogrammed. Both are part of a full garage door safety inspection, along with spring balance and cable condition.
New House, Old Opener: the myQ Account Problem
Erasing the radio memory does nothing to the app, and this catches new homeowners constantly.
On a myQ or Wi-Fi enabled LiftMaster, the opener is registered to an account, and that registration lives with the manufacturer rather than in the motor head. You can wipe every remote, reprogram every device, and still open the app and get told the device is registered to another account. That account is the previous owner.
The clean fix is to ask the previous owner to remove the device from their myQ account in the app, which takes them under a minute. If they are unreachable or unwilling, the documented path is to perform a factory reset of the Wi-Fi and myQ settings on the unit and, if the linkage still blocks you, contact LiftMaster support with proof of ownership so they can clear it. Resetting the device by itself does not always release an account linkage.
Put this on your closing checklist rather than discovering it later. A smart opener that still answers to a previous owner account is a real access question, not just an app annoyance, and it is the same conversation we have when someone adds connectivity during a smart garage door installation.
When a Reset Is Not Going to Fix It
Resets solve programming problems. They do not solve hardware problems, and there are three patterns that tell you to stop resetting.
If every remote quit at once and reprogramming does not take, suspect the receiver or logic board rather than the remotes. Power events do this, and Central Florida gives us plenty of those between the summer storm season and the utility switching that comes with it. A board that has lost its receiver stage will still run the door from the wall button while ignoring every radio device you try to teach it.
If the door reverses partway down and travel programming will not complete, work the sensors and the door hardware first. Binding rollers, a bent track section or a door that is out of balance all produce force faults that look like programming faults. Our walkthrough of a garage door that stops halfway covers how to tell those apart.
If the opener runs but the door does not move, or moves with a loud grinding, the gear and sprocket assembly is the usual answer on a chain drive with age on it. No reset touches that.
What This Costs and When to Call
All four resets above are homeowner-doable with a ladder and fifteen minutes, and there is no shame in doing them yourself. The cases where a call is genuinely the better buy are narrower than the internet suggests.
Call when travel programming will not complete after you have confirmed the sensors are aligned, because at that point you are chasing a mechanical or board issue rather than a setting. Call when the opener is old enough that the buttons on the back do not match anything in this article, because generation identification in person takes a minute and saves an afternoon. Call when the door fails the one-inch board test and you cannot get it to pass, because that is a safety condition and not a convenience issue. And call when the diagnosis lands on the opener itself, where the real question becomes repair or replace, covered in opener repair versus replacement.
If the fix turns out to be the settings rather than the hardware, it is a short visit under limits and force programming, and if it turns out to be the unit, that is opener repair.
Where We Work
Rocket Garage Door Services works across Polk County and the surrounding Central Florida communities, including Lakeland, Winter Haven, Haines City and Bartow.
If you just bought a house with a LiftMaster on the ceiling, do three things this week: hold the Learn button until the LED goes out, change the keypad PIN, and check whether the opener is still tied to somebody else myQ account. That sequence takes ten minutes and closes every door the previous owner still had open. If any of it does not go the way this page describes, get in touch and tell us the Learn button color, because that one detail narrows the diagnosis faster than anything else you can tell us.

