

One Test First, Because It Splits the Problem in Half
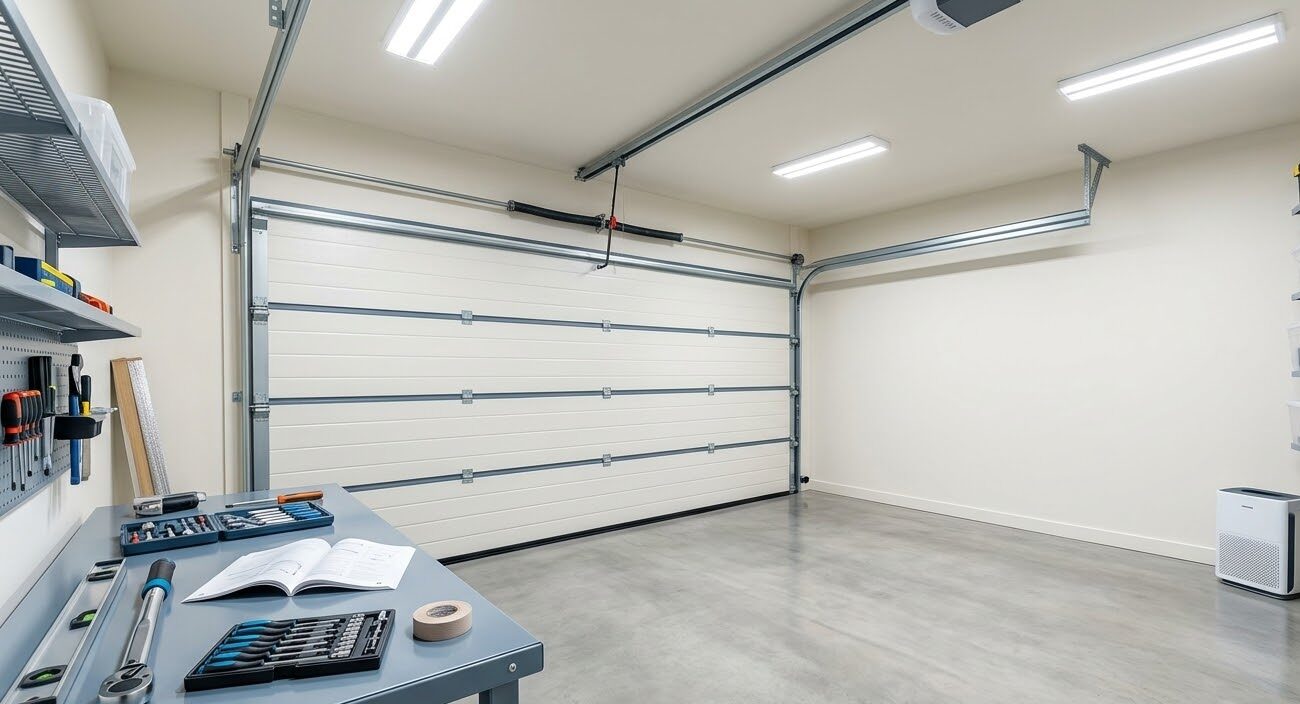
Before you buy a battery or a new remote, press the wall button inside the garage.
If the door opens from the wall button but not from the remote, nothing is wrong with the door. The springs are fine, the motor is fine, the sensors are fine. You have a radio problem, and radio problems are the cheapest category of garage door failure there is. Everything in this article lives on that side of the line.
If the wall button also does nothing, stop reading this and go to why a garage door will not open, because you are looking at power, a broken spring or the opener itself, and no amount of remote programming will touch it.
That single test saves more service calls than any other thing we tell people over the phone. Do it before anything else.
Fix 1: The Battery, and the Symptom That Identifies It Before You Spend a Dollar
Dead batteries are the most common cause, and they almost never die the way people expect. A garage door remote battery rarely goes from working to nothing overnight. It fades, and the fade has a signature.
The tell: the remote works when you are close and not when you are down the street. If you used to open the door from the corner and now you have to be in the driveway, that is a weak battery losing transmit power, not an opener going bad. Range loss is the first symptom and total failure is the last one.
Specifics worth knowing:
- Most visor remotes use a CR2032 or CR2016 coin cell. Older and smaller keychain units frequently use a 23A or A23 12-volt cylinder. Open the case and read the number off the old cell rather than guessing.
- Typical life is three to five years in normal use. In a Florida car that sits in the sun on a clipped visor, expect the short end of that.
- Check the contacts, not just the cell. Corrosion or a bent spring contact produces the exact same fading-range symptom as a weak battery, and a new battery in a corroded holder changes nothing. Clean the contacts with a pencil eraser.
- If two remotes stopped working on the same day, it is not the batteries. Two independent cells do not fail together. Skip to Fix 2 and Fix 3.
Fix 2: The Lock Button on the Wall Console
This one is free, takes ten seconds, and accounts for a surprising share of the calls we take where the customer is convinced the remote died.
Most wall consoles have a lock or vacation feature, usually a small button marked with a padlock. Pressing and holding it disables remote operation entirely while the wall button keeps working normally. That is exactly the symptom set you would expect from a dead remote, which is why it fools people, and it is very easy to trigger by accident while wiping the wall or letting a kid press buttons.
Press and hold the lock button again to release it. On most LiftMaster and Chamberlain consoles, an LED on the console stops flashing when the lock is off. If you have lost the manual, hold it for about two seconds and try the remote again.
Fix 3: Relearn the Remote, and Find the Learn Button Color First
Remotes lose their pairing. Power surges do it, which in Central Florida summer is not a rare event, and so does a memory reset or a previous owner clearing the unit. Reprogramming is a two-minute job once you find the right button, and the color of that button tells you what system you have.
On LiftMaster and Chamberlain openers, the learn button sits on the motor head, usually under the light lens or behind a panel on the back, and its color is a dating code:
- Yellow: Security+ 2.0, found on most units made after 2011. It transmits across 310, 315 and 390 MHz, which matters for interference and comes up again in Fix 6.
- Purple: Security+ rolling code at 315 MHz, roughly 2005 to 2011.
- Red or orange: Security+ rolling code at 390 MHz, common on late 1990s and early 2000s units.
- Green: Billion Code at 390 MHz, late 1990s into the 2000s.
The procedure is the same across all of them: press and release the learn button, then within about 30 seconds press the remote button you want to assign. The opener lights or clicks to confirm. Two things trip people up here. The window is short, so have the remote in hand before you press learn. And press and release the learn button rather than holding it, because holding it for several seconds erases the entire memory instead of adding a remote.
The memory-full trap. Openers store a limited number of transmitters. Once that list is full, adding a new remote can silently push an older one out, which produces the maddening result where programming the new remote breaks the one that was working. If you have accumulated remotes, keypads and two cars with built-in buttons over the years, the honest fix is to hold the learn button until the LED goes out, wiping everything, and then reprogram each device you still use.
Genie units work the same way with different labels, using a Program or Learn Code button and Intellicode rolling code. If you are not sure which brand ecosystem you are in, the comparison in LiftMaster versus Chamberlain versus Genie sorts out who makes what.
Fix 4: The LED Bulb in the Opener, Which Is the Modern Range Killer
This is the fix almost nobody guesses, and it has become one of the most common causes on the list because of a change nobody connected to garage doors: everyone swapped their bulbs.
LED bulbs run on switching power supplies, and cheap ones emit radio frequency noise in the 300 to 400 MHz range. That is the same band garage door remotes transmit on. Put an unshielded LED in the opener itself, inches from the receiver antenna, and the noise floor comes up enough to swamp the signal. Reported effects are dramatic: remote range dropping from roughly 30 feet to a few feet.
The diagnostic is clean. Take the LED bulbs out of the opener, try the remote from your normal distance, and see what happens. Chamberlain's own support guidance is to remove or replace LED bulbs in and near the opener with an incandescent or CFL, and if that fixes it, to switch to a compatible bulb. Chamberlain and LiftMaster sell an RF-shielded bulb, model 41A5034, in the $15 to $25 range.
Two extra notes from the field. It is not only the bulb in the opener, because an LED shop light or fixture within a few feet of the motor head can do the same thing. And the interference can be intermittent, showing up only when the garage light is on, which is why a household sometimes reports that the remote fails at night and works fine in the afternoon.
Fix 5: The Antenna Hanging Off the Motor Head
Look at the opener. There should be a thin wire, usually six to twelve inches, hanging straight down from the back of the motor head. That is the receiver antenna, and it is the least respected part of the system.
What goes wrong with it:
- Coiled or tucked up. Somebody bundled it out of the way during a ceiling paint job or a storage rack install. Straighten it and let it hang free.
- Cut or broken. It gets caught on a ladder or a stored item. A broken antenna typically leaves you with a few feet of range, which reads exactly like a dying battery.
- Buried behind metal. Metal shelving, ductwork or a car lift between the antenna and the driveway attenuates the signal. Moving the antenna a foot can restore range.
This one is worth checking any time you have degraded range on every remote at once, because it is the only failure that hits all transmitters equally without being the receiver board itself.
Fix 6: Outside Interference, and the Florida Case That Made the News
Sometimes nothing in your garage is wrong at all. Garage door openers are FCC Part 15 unlicensed devices, and the label on the back says so in plain language: the device must accept any interference received, including interference that may cause undesired operation. Legally, you are the one who has to move.
The best documented example happened in Florida. At Eglin Air Force Base, testing of a new Land Mobile Radio system produced dozens of complaints from homeowners whose remotes stopped opening their doors, with effects reported as far as 10 miles out. The LMR systems being deployed operate between 380 and 399.9 MHz, right on top of the 390 MHz band that a large share of garage door openers had used for years. Across the country, manufacturers logged more than 1,300 direct complaints after August 2005, and one manufacturer estimated its distributors fielded 7,000 to 10,000.
The homeowner symptom is distinctive and worth recognizing: every remote in the household degrades at once, batteries and reprogramming change nothing, range comes and goes on a schedule that has nothing to do with your garage, and neighbors report the same thing. That last detail is the confirmation. A problem your neighbor also has is not a problem in your motor head.
The practical fix is a frequency-agile opener. A Security+ 2.0 unit with a yellow learn button scans and transmits across 310, 315 and 390 MHz, so when one frequency is blocked the others still carry the command. That is precisely the problem that design was built to solve, and it is a real argument for replacement on an older 390-only unit in an area with interference. The rest of the repair-or-replace math is in opener repair versus replacement.
Smaller local sources do the same thing on a smaller scale: a neighbor's new LED landscape lighting transformer, a CB or ham setup, an aging fluorescent ballast, or a cheap USB charger left plugged into the wall outlet feeding the opener. If the failure started the week something new appeared nearby, that is the first suspect.
When It Is Not the Remote at All: the Receiver Board
If you have replaced batteries, cleared and reprogrammed the memory, pulled the LED bulbs, straightened the antenna and ruled out the wall lock, and no remote works from any distance while the wall button still operates the door normally, the receiver side of the logic board is the remaining suspect.
The clean confirmation is a known-good remote of the right frequency that programs successfully and still does not work. At that point the choice is a logic board replacement or an external receiver, and on an older unit the board price frequently lands close enough to a new opener that replacement is the better purchase. Age matters here: an opener built before 1993 predates the federal photo-eye requirement, and on those units we do not recommend putting money into a board at all. The safety side of that line is covered in garage door safety sensors and the auto-reverse test.
Keypads Fail Differently Than Remotes
An exterior keypad shares the radio system with your remotes but adds failure modes of its own, and Florida is hard on all of them.
- Battery, but on a different clock. Keypads usually run a 9-volt and live outdoors in heat and humidity, so they run down faster than a visor remote and the battery compartment corrodes.
- Worn or dead keys. The digits used in the PIN wear visibly, and a membrane that has been in the sun for a decade develops dead spots. If one specific digit is unreliable, change the PIN to one that avoids it and you have bought another year.
- Lost PIN and lost pairing are different problems. Resetting the PIN happens at the keypad. Re-pairing to the opener happens at the learn button, same as a remote.
- Water intrusion. A keypad mounted without a gap behind it or under a leaking trim board fills with moisture. Mounting position matters more than the product here.
Built-In Car Buttons Have One Extra Step
The buttons in the headliner or mirror of a car, usually HomeLink or Car2U, are transmitters like any other, with one wrinkle: on a rolling-code opener you cannot just teach the car the remote and finish. After training the car button from a working handheld remote, you generally have to go back to the motor head, press the learn button, and then press the trained car button within the programming window to complete the pairing.
People skip that second half constantly, which is why the car button appears to program successfully and then does nothing. If your handheld remote works and the car button does not, that missed step is the first thing to check, and the whole procedure takes two trips between the car and the ladder.
One more detail specific to buying a used car: the previous owner's codes stay in the module. Hold the two outer HomeLink buttons until the indicator flashes to clear them before training your own.
What This Costs in 2026
- Battery: a few dollars, and the fix for a large share of these calls.
- Replacement remote: roughly $30 to $40 for a factory transmitter, with the broader market for aftermarket and multi-button units running $10 to $60 depending on features.
- Replacement keypad: roughly $30 to $60.
- RF-shielded opener bulb: $15 to $25.
- Professional programming visit: commonly $50 to $150 for a visit that syncs remotes, keypads and car buttons, with simple on-site pairing at the low end of that.
- Logic board replacement: the point where the conversation turns into repair versus replace, especially on units over about twelve years old.
The honest guidance: almost everything on this page is a do-it-yourself fix, and we would rather tell you that on the phone than drive out for a coin cell. Where a visit earns its money is a full memory wipe and re-pairing of every device in a household that has accumulated remotes and cars over a decade, or a diagnosis that has already ruled out the easy causes. That is what our remote and keypad programming service is for.
The Five-Minute Diagnostic Order
- Wall button test. Works from the wall but not the remote means radio problem. Does not work from the wall means stop here and diagnose the door.
- Check the lock button on the wall console. Free, ten seconds.
- One remote or all of them. One remote failing is a battery, a contact or lost pairing. All remotes failing at once is an antenna, interference, the lock feature or the receiver.
- Test range. Works up close only means weak transmit or a raised noise floor. Works nowhere means pairing or receiver.
- Pull the LED bulbs in and near the opener and retest.
- Look at the antenna wire and straighten it.
- Reprogram, and if you have more devices than the memory holds, wipe and start clean.
Run in that order, you either fix it or you arrive at the receiver board having eliminated everything cheaper first, which is exactly the information a technician needs.
Polk County Specifics, and When to Call
Two local notes. Summer storm season puts surges through Central Florida garages regularly, and a surge that clears an opener's memory is a common cause of the everything-stopped-working-at-once version of this problem. A surge protector on the opener outlet is a genuinely cheap insurance policy, and it belongs on the same list as the rest of the items in our Polk County maintenance checklist. Second, heat: a remote clipped to a visor in a car parked outside in July sees temperatures that shorten battery life well below the three to five year norm, so if you are replacing coin cells every eighteen months, the remote is not defective, the parking spot is.
We handle remote and keypad programming, receiver diagnosis and opener replacement across Polk County, including Lakeland, Winter Haven, Bartow and Haines City. Call (863) 624-3191, and when you do, tell us two things: whether the wall button works, and whether one remote failed or all of them did. Those two answers decide most of the repair before the truck leaves. If the door itself is stuck and you cannot get a vehicle out, that is an emergency service call, not a programming call.

